
DIY Woven Bookmark

Loads of people have been asking me what I'm going to do with the yarn I dyed last week and this has been my answer - woven bookmarks! I made the loom last fall but since making a couple pieces it's just been sitting in my crafting area collecting dust. I didn't dye enough yarn to knit up a decent sized piece so I thought up a few ways to use smaller bits of yarn and this was by far my favourite!
**disclaimer - I am no weavestress**
I have no idea how to actually weave or finish weaves so if you're looking for help or a detailed explanation on how to weave, I ain't your girl. But if you're looking for a general idea of how to go about making a woven bookmark, you're in the right place!
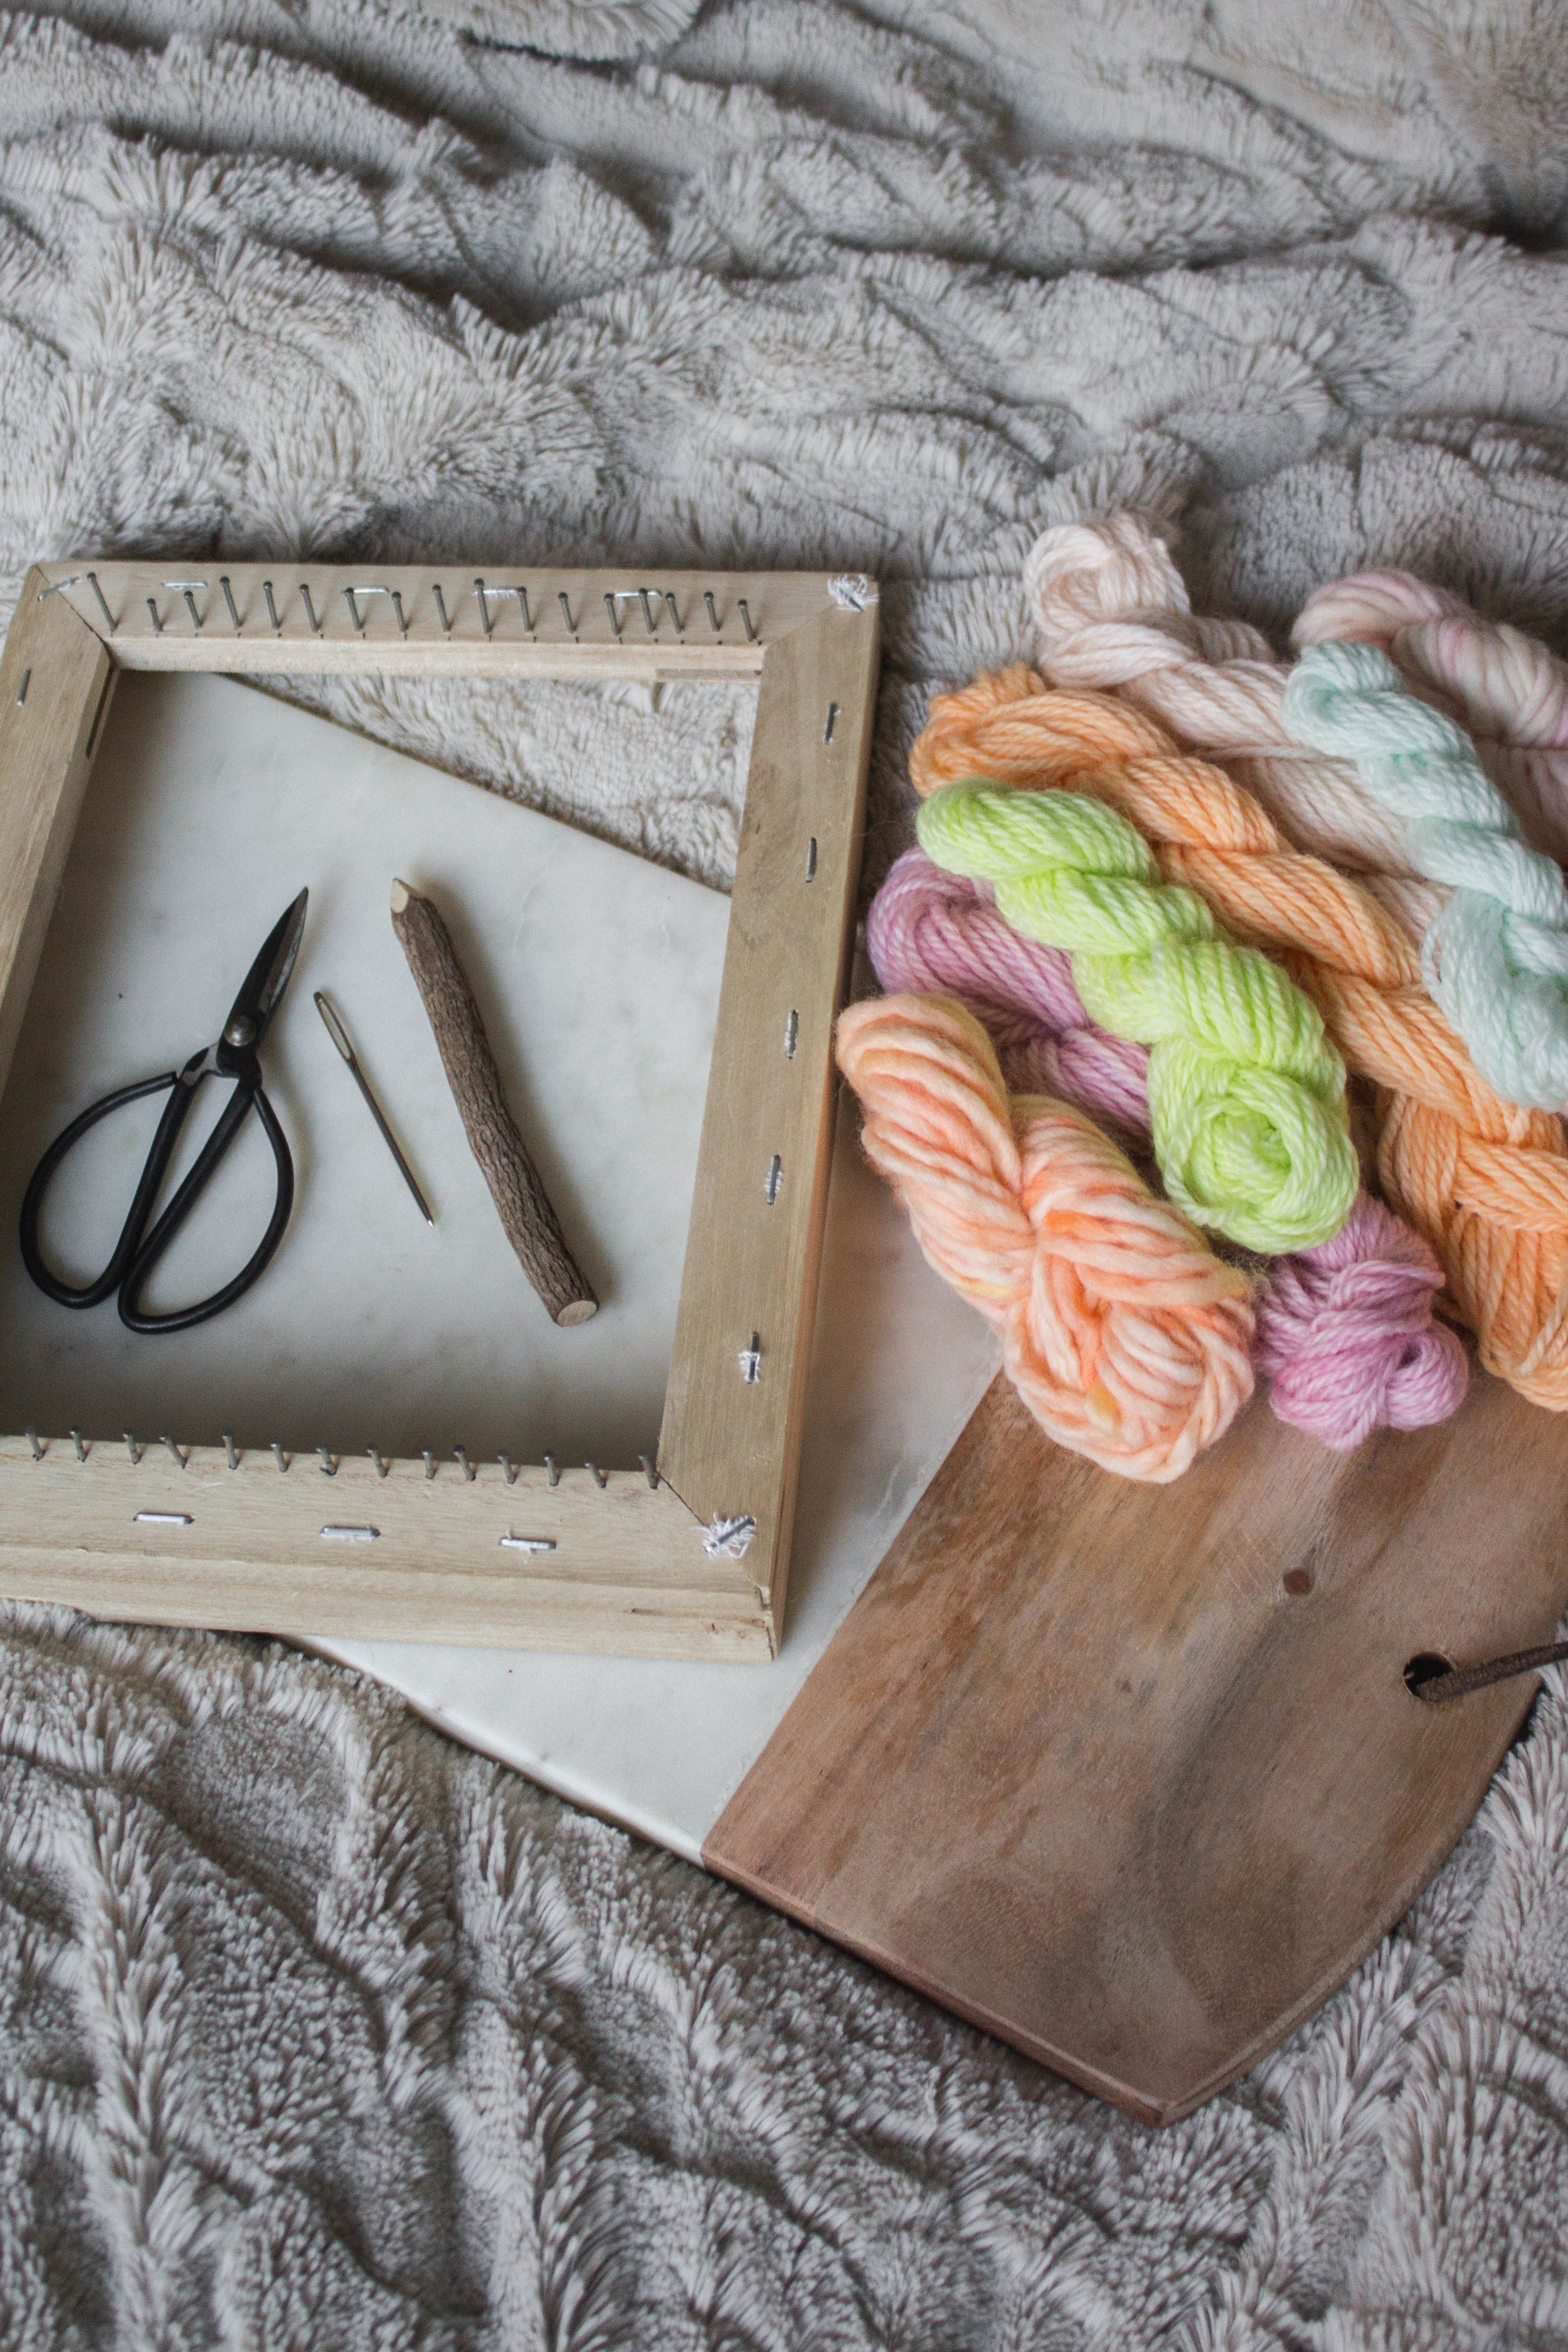
What you'll need:
- DIY loom
- scissors
- candy dyed yarn
- embroidery needle
- pencil

Step 1 - partially warp your loom
Since we're making a bookmark, only warp until you're happy with the thickness. (How you warp it will depend on the style of loom you have. If you need help, I recommend looking at this site)

Step 2 - add tension
this will help keep your rows even and makes it easier to weave the yarn through one side.
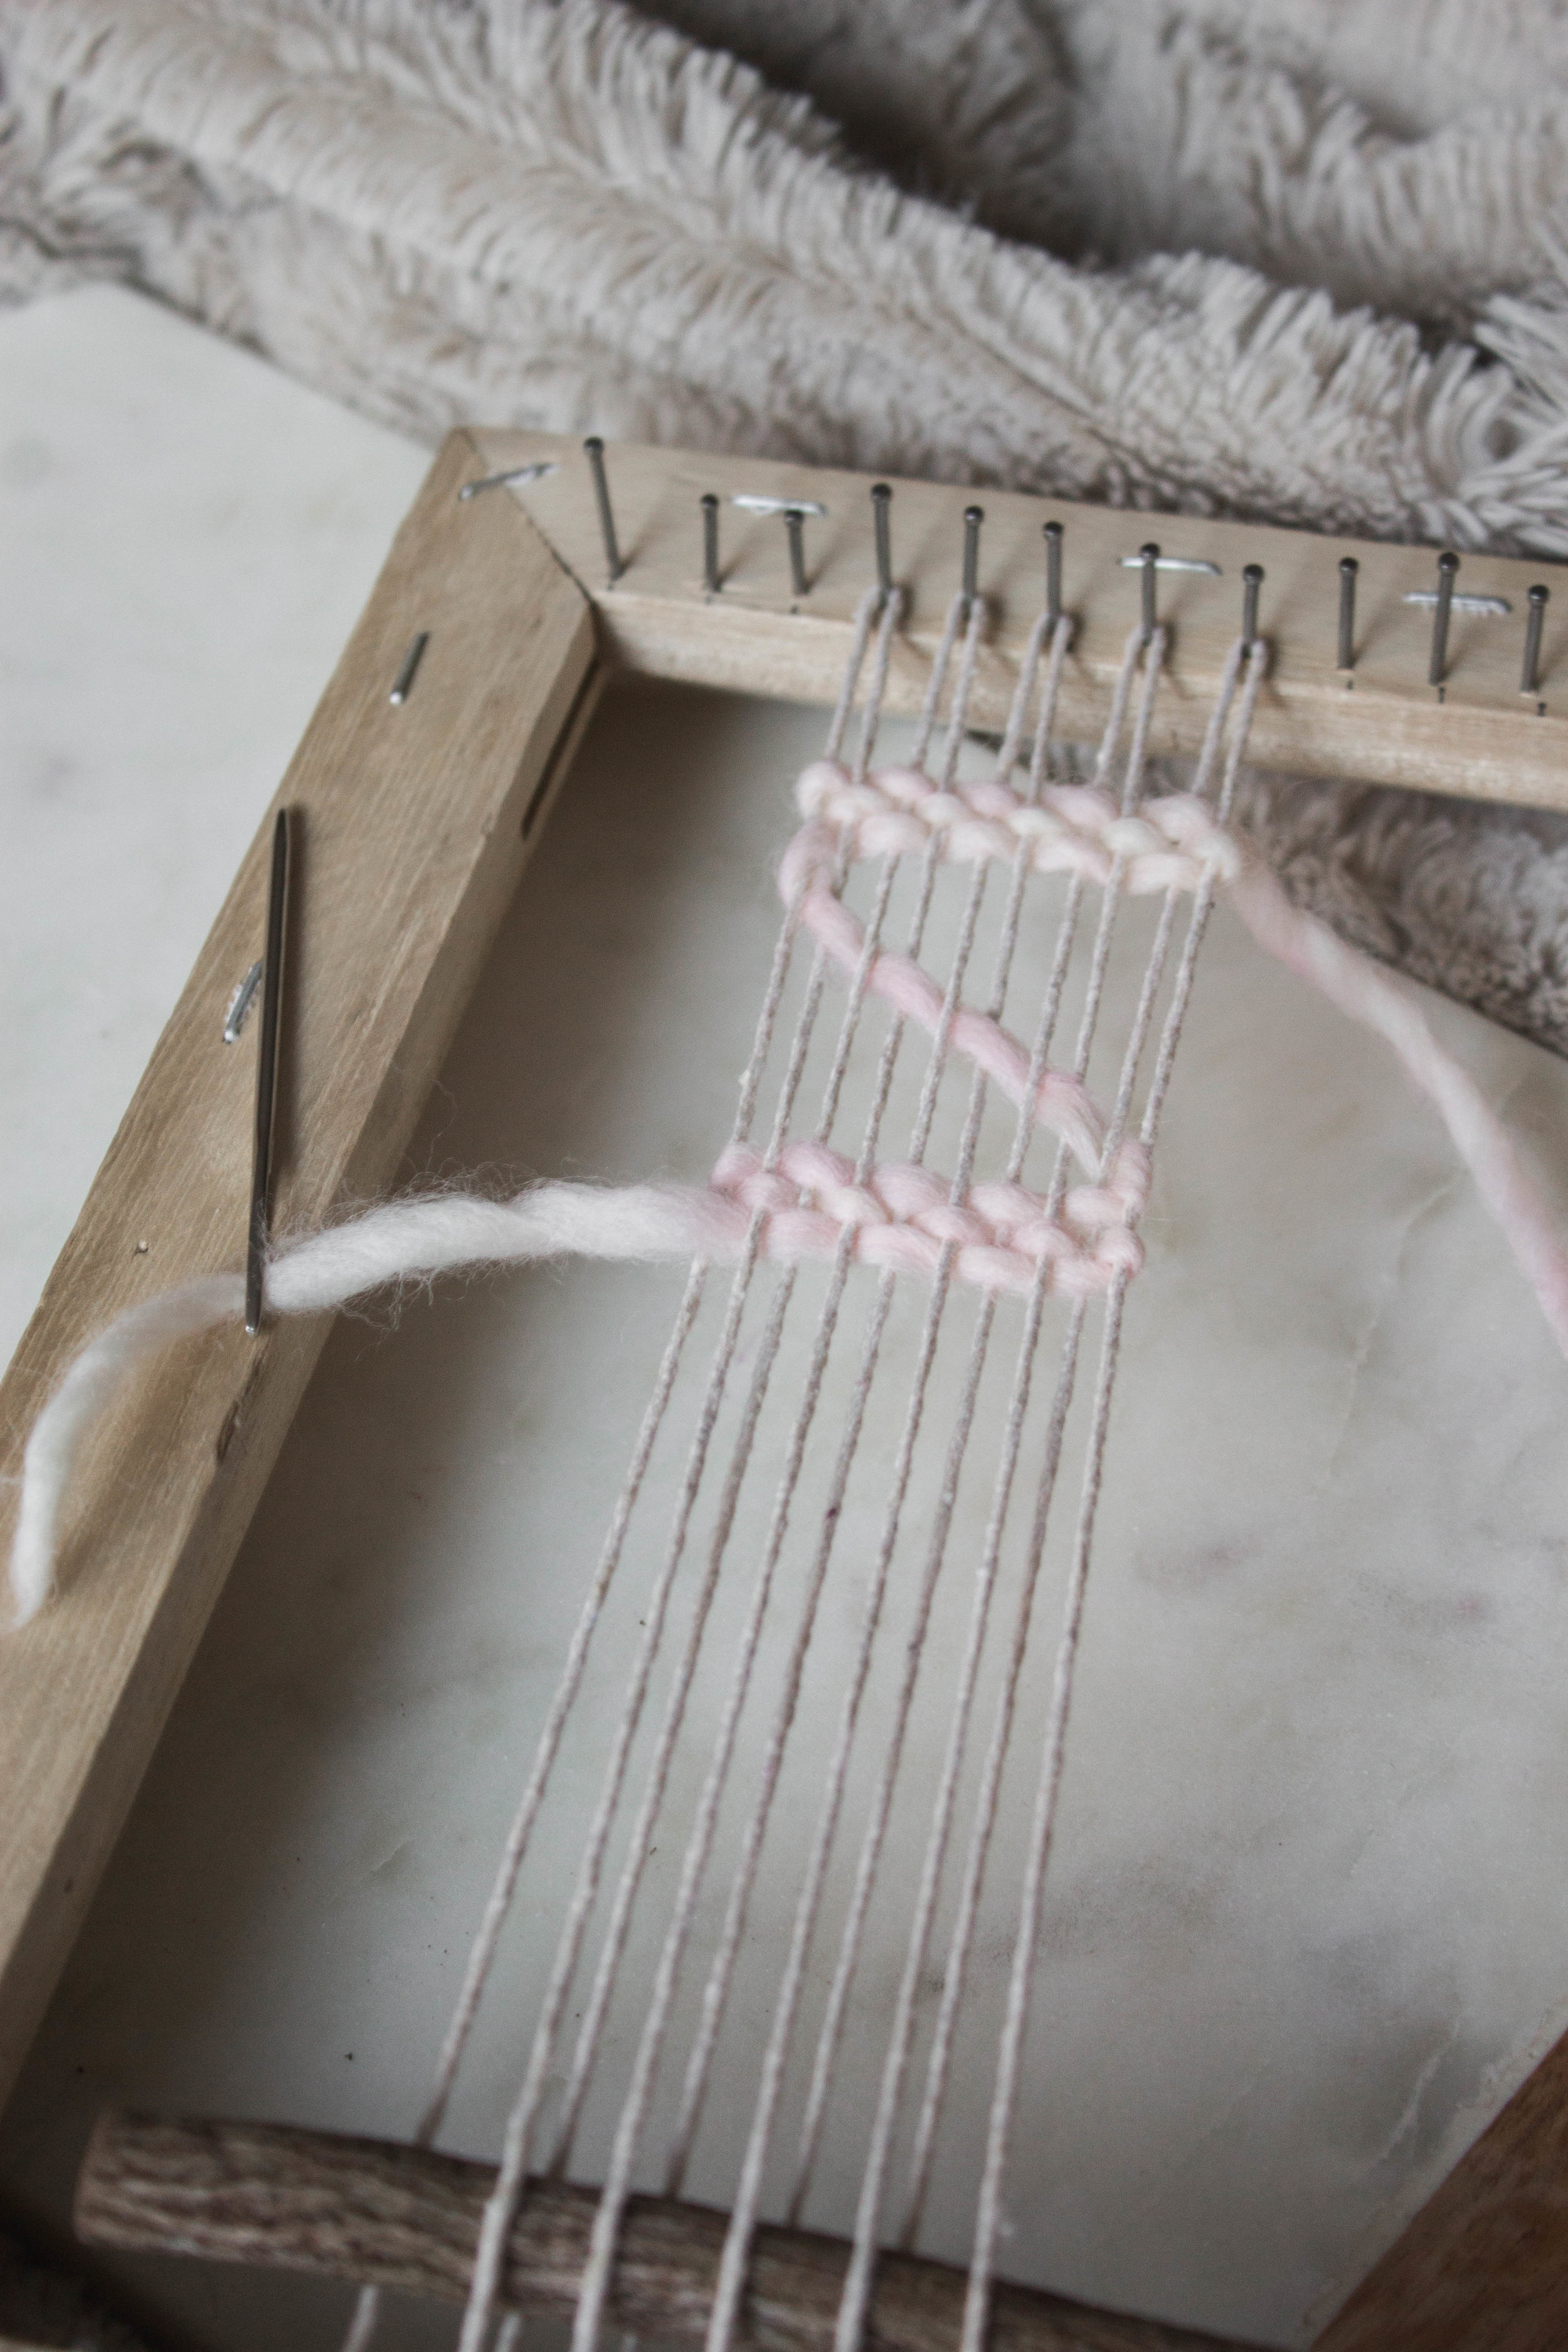
Step 3 - start weaving
If you don't know where to start, I suggest looking on Pinterest. Don't get too lost in finding the perfect one though, just feel it out as you go and use pinterest as inspiration if you need it.

Step 4 - finish off
I don't have any photos of finishing this one off because I lost the light.. But I finishing off is my least favourite part. Probably because I have no idea how to do it. But when I was doing research for the post I came across this site and it's got soooo much info so I highly recommend checking it out if you need help!


Et voila! A woven bookmark made from wool you dyed with candy and your own two hands on a loom you constructed all by yourself! Look at you go!