
How To Dye Wool With Candy

Today I'm thrilled to share with you a collaboration that has been months in the making. Arielle, the maker behind CakeSpun Fibreworks, and I met at the Picot night markets back in August and have been trying to make something work since then! While her woven wall hangings are beautiful and delicate and thoughtfully made, what really drew me in was finding out that Arielle dyes her wool using candy. If you know me, you know that candy is my favourite food group. So combining my love for wool and yarn and knitting with my love for sugar and candy and all things sweet seemed like a match made in heaven.
This past weekend Arielle spent a soggy Saturday morning teaching me the art of candy dyeing and today she's sharing her knowledge with you! So without further ado, here are the instructions for how to dye wool using candy!
Materials
- Undyed/natural coloured 100% wool yarn
- Alum powder (sold in the spice or pickling section of the grocery store)
- Hard candies with lots of pigment (nerds, skittles, candy corn, and sprinkles all work well)
- Candy thermometer
- Pots
- Small jars (one for each colour)

Step 1: Make Your Skeins
Start by winding the wool into easy to manage skeins. Do this by continually wrapping the wool around your bent elbow and the "dip bit" between your thumb and index finger until you have a nice amount of wool to work with. You can keep them exact if you'd like, but it's not necessary. 25g or so is a good mini skein. Keep making skeins until you have as many as you'd like to dye. Tie them off loosely in two spots to keep them from unraveling in the dye pot.

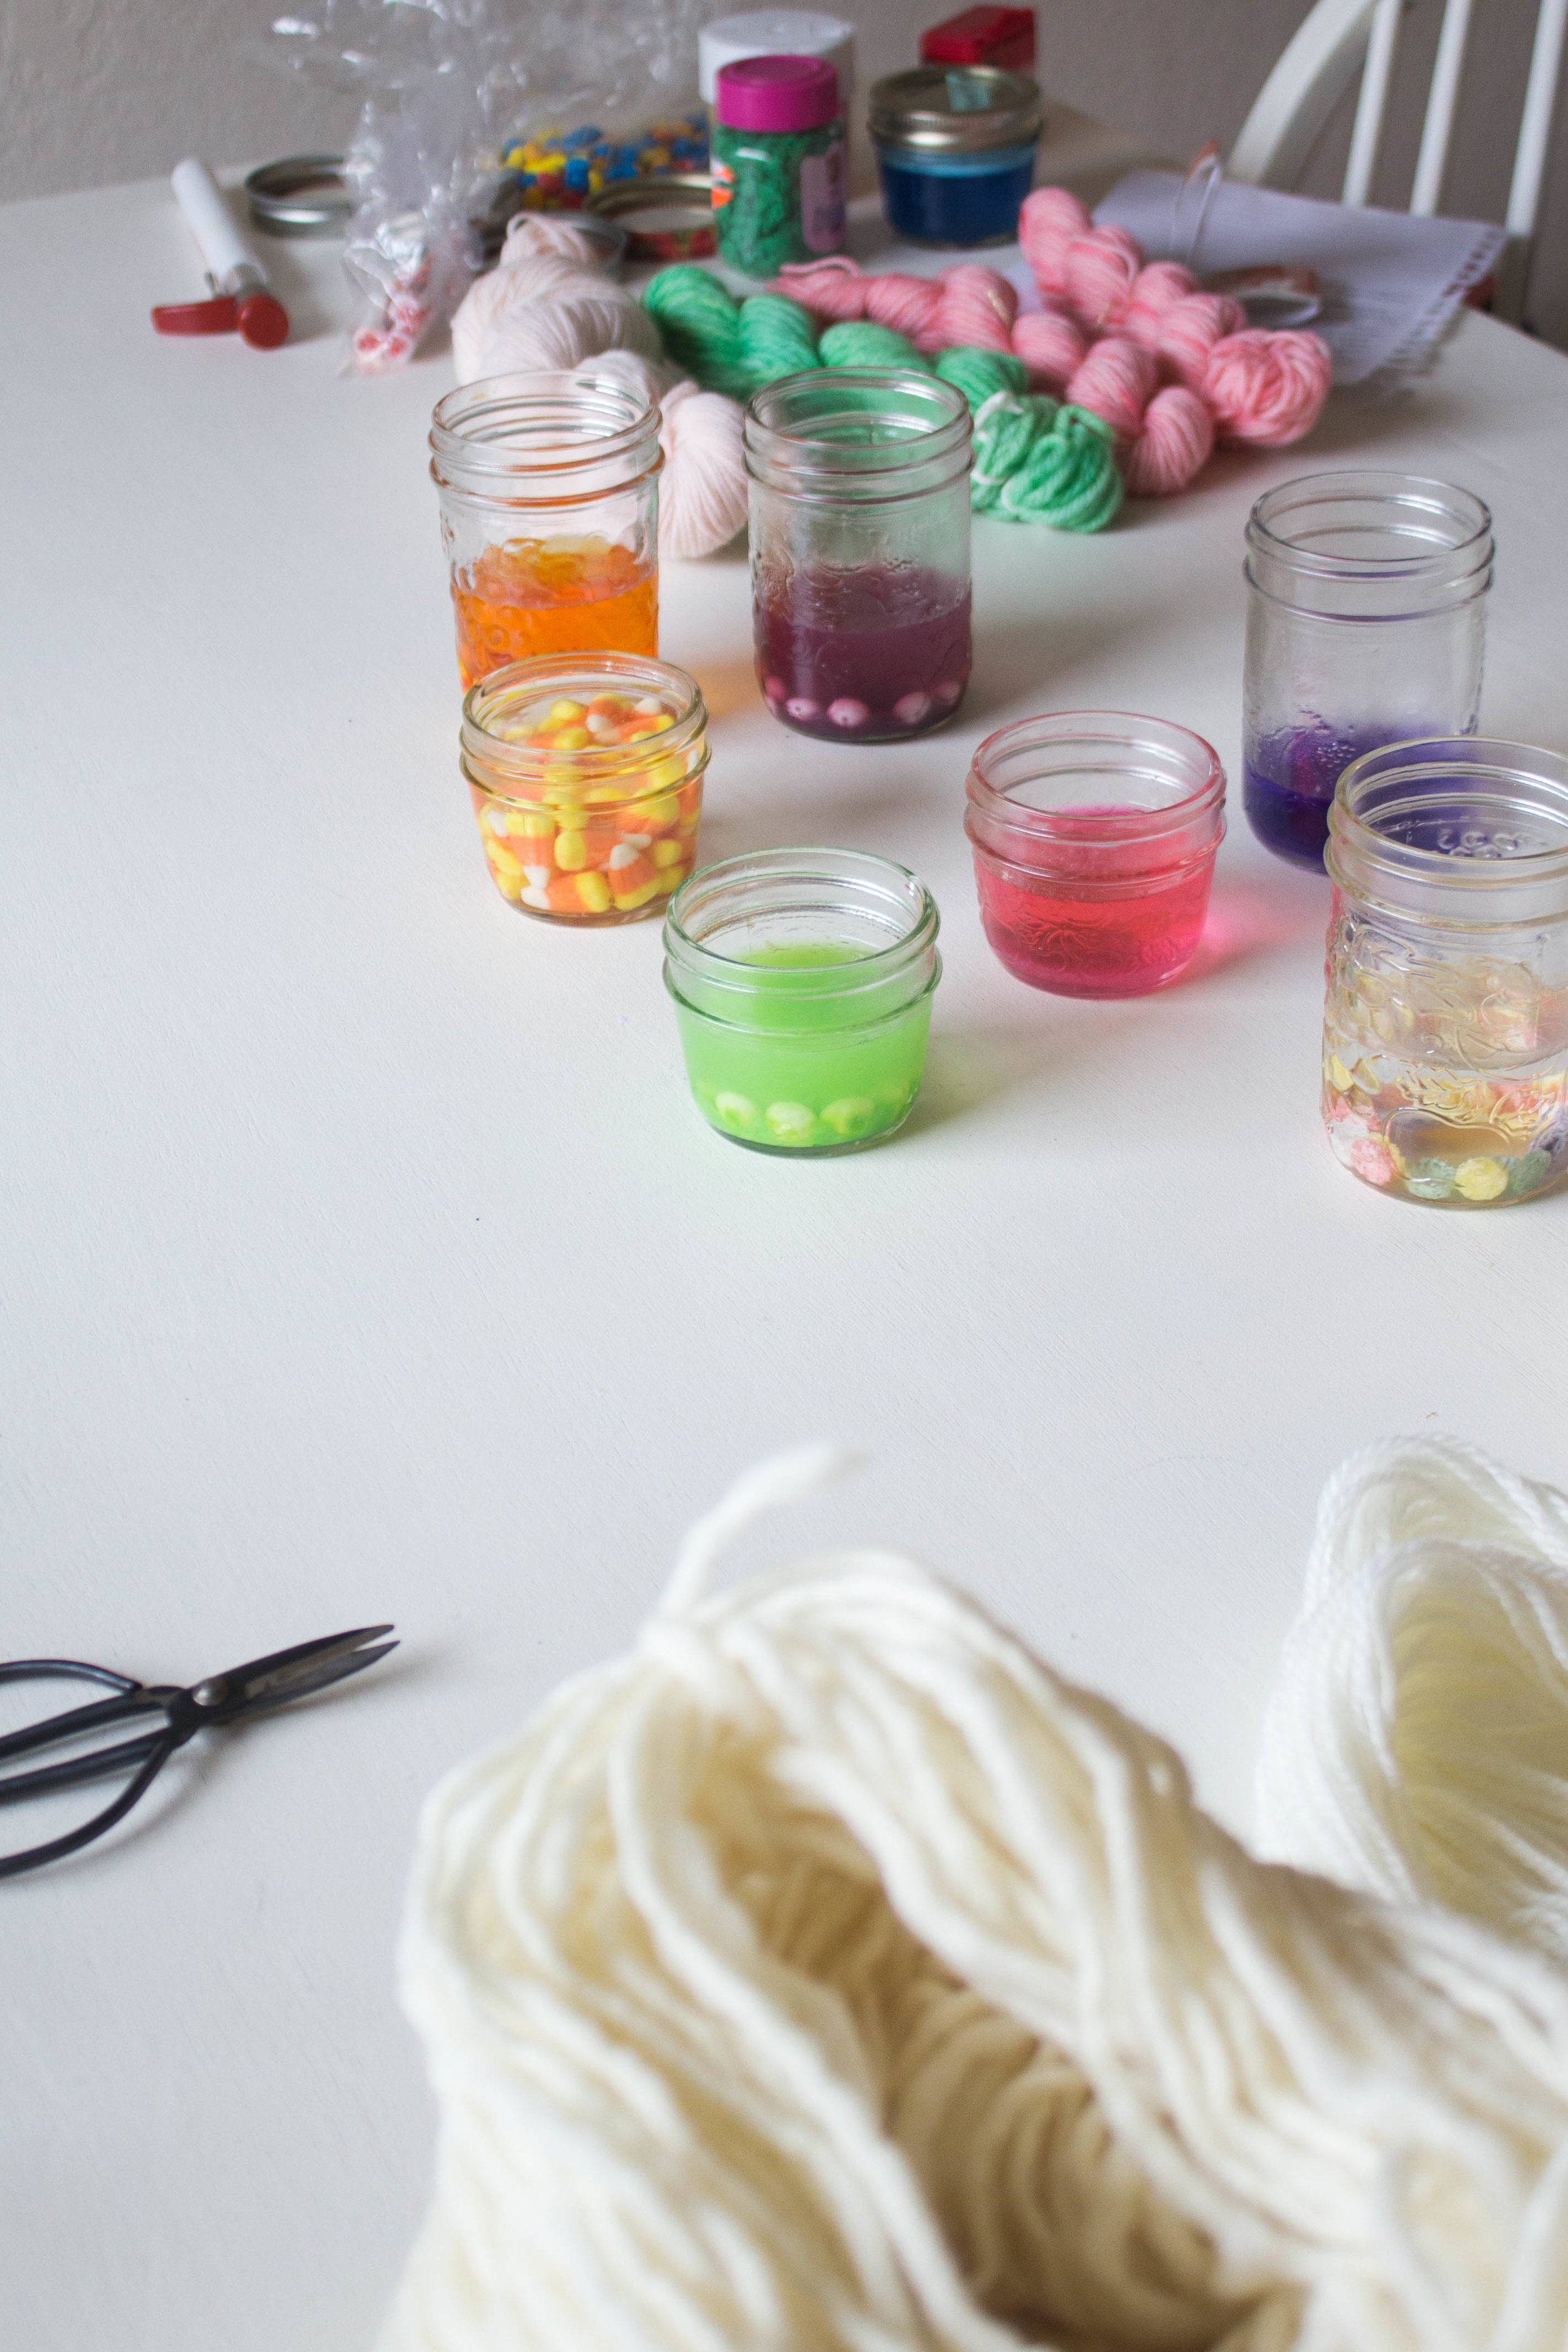
Step 2: Make Your Dyes
Add a small amount of candy to each jar -1 tsp to 1 tbsp depending on the strength of colour you'd like. Then fill the jars with hot water.
Give each jar a shake or a stir to help dissolve the candies.

Step 3: Wet Your Wool
While the candies are soaking and turning into delicious dyes, pre-wet your wool. Fill a large bowl with room temperature water and add all your skeins. Gently push them down to ensure they're soaked all the way through. Be careful not to agitate the wool to much! This may cause it to felt - which you don't want to have happen!
Pull the fibres out and gently squeeze them dry, don't wring them out or be to rough with them. Wet wool is a temperamental thing. Set the wool aside so you can prep your pot.

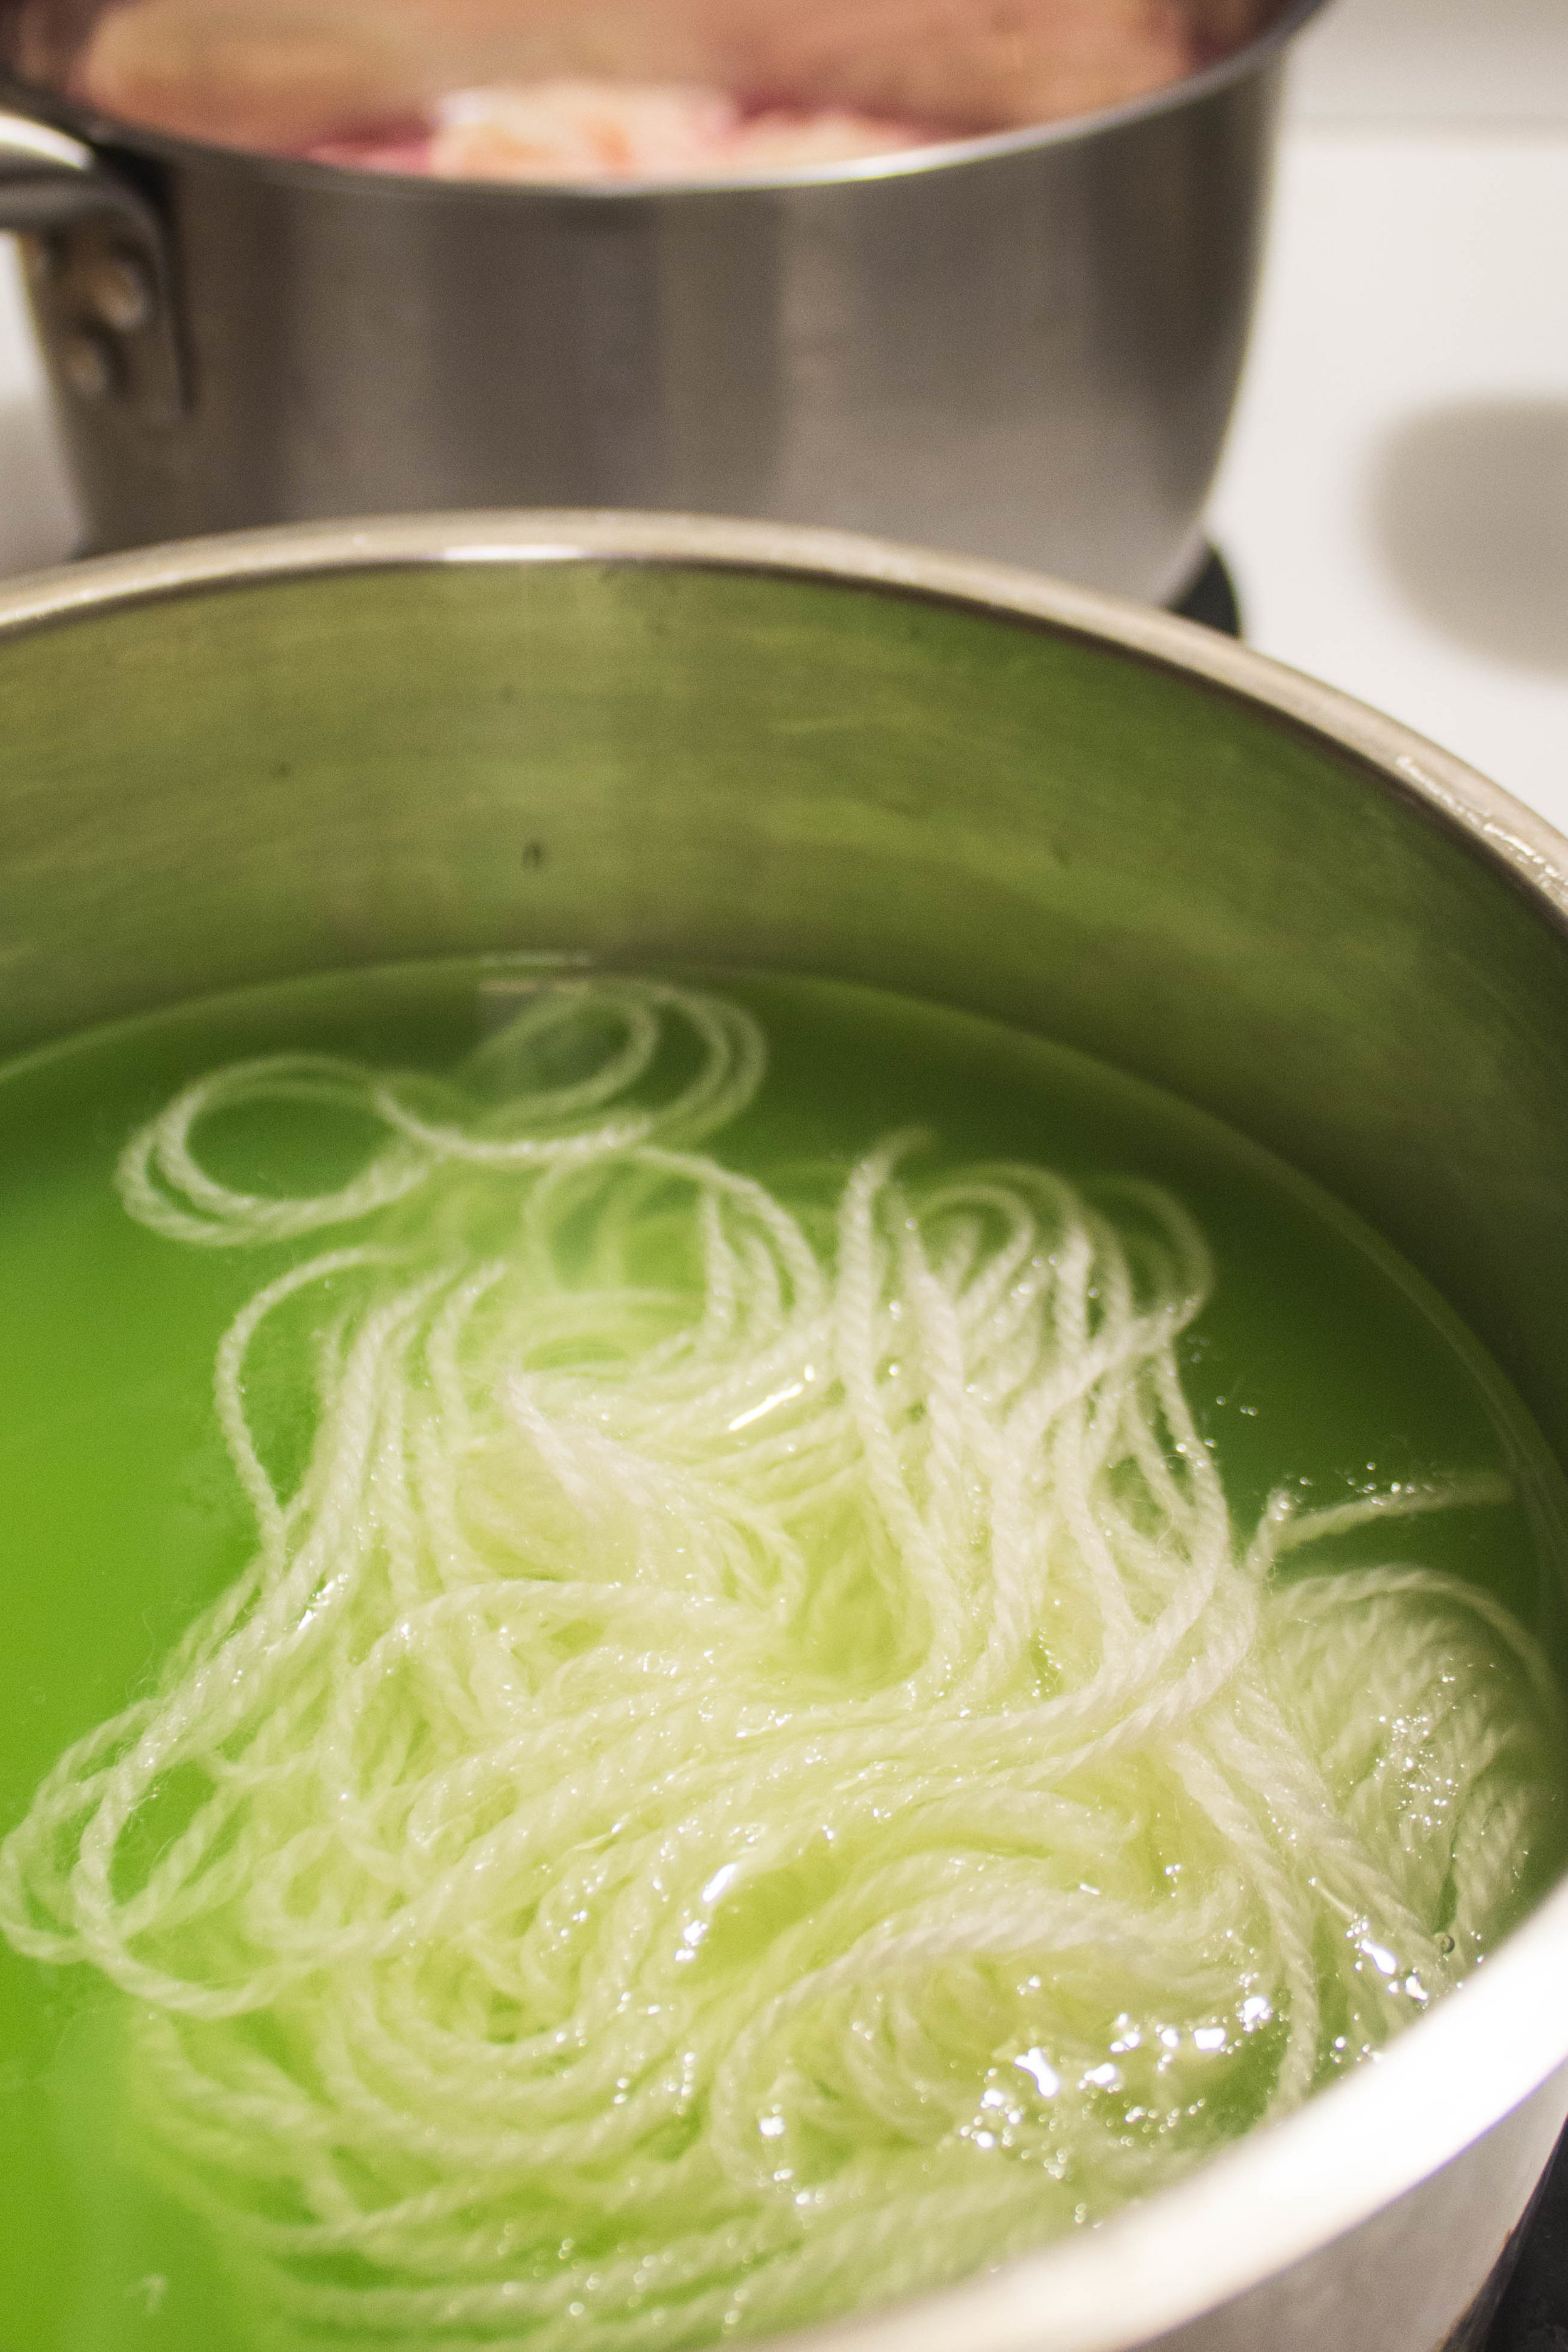
Step 4: Set Up Your Pots
Fill your pot with lukewarm water, enough to fully cover the wool. Add a pinch of Alum (which ensures that the colour gets fully sucked up by the wool) and one of your dyes.

Step 5: Add Your Wool
Set the pot over medium low heat and add one or more skeins of wool. Over 30 minutes, gradually bring the temperature up to 180 degrees F. Maintain that temperature for another 30 minutes or until the water in the pot has gone clear.
Remove the pot from direct heat and leave the water and wool to rest until they're back to room temperature.


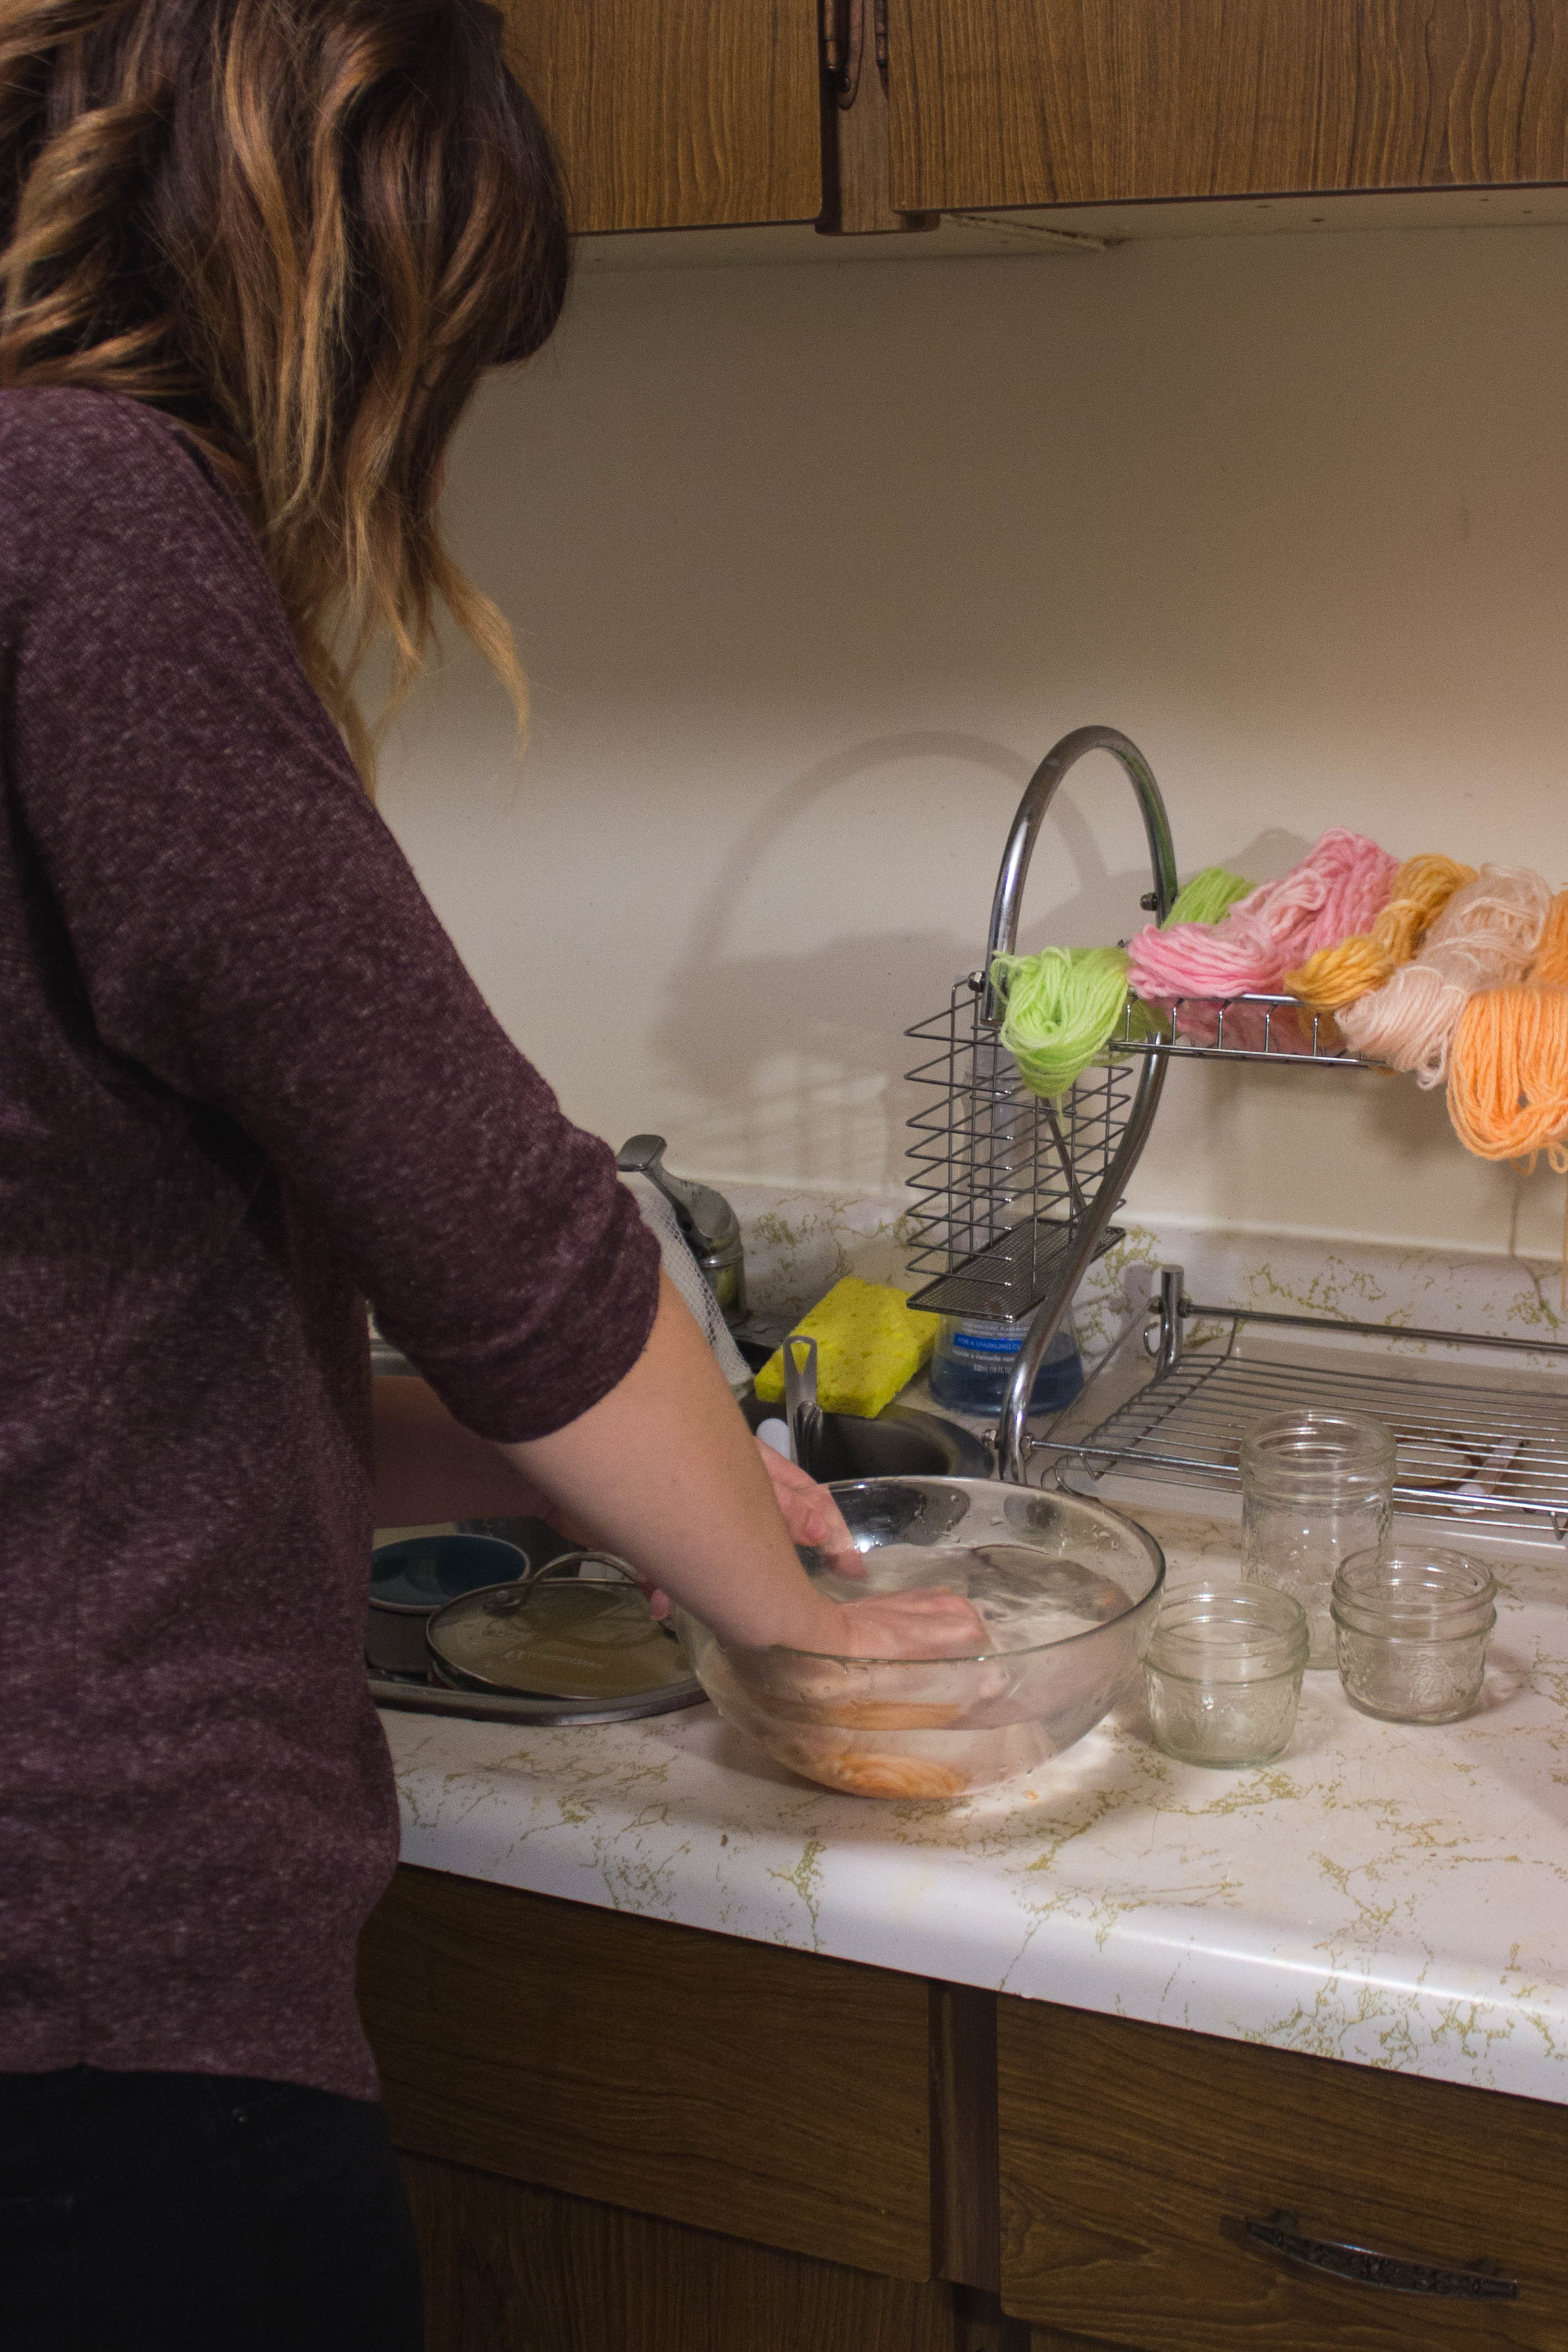
Step 6: Rinse Your Wool
Remove the wool from the pot and gently squeeze out any excess water. Wash the wool in a bowl of room temperature water with a teeny tiny touch of dish soap. Again, be careful not to agitate the wool too much. It works well to "push" the wool down onto the bottom of the bowl in a gentle kneading like fashion. It may take a second wash for the water to run completely clear.


// FUN FACT //
Dyeing wool with candy is actually healthier than dyeing it with other natural ingredients. No chemical processes occur during the candy dyeing process which means your pots and other materials used throughout the process are totally safe to be used with food you intend to eat later.

Step 7: Hang to Dry
Hang your wool in a place that will allow it to drip dry completely.
Once it's dry, make something amazing with it!!

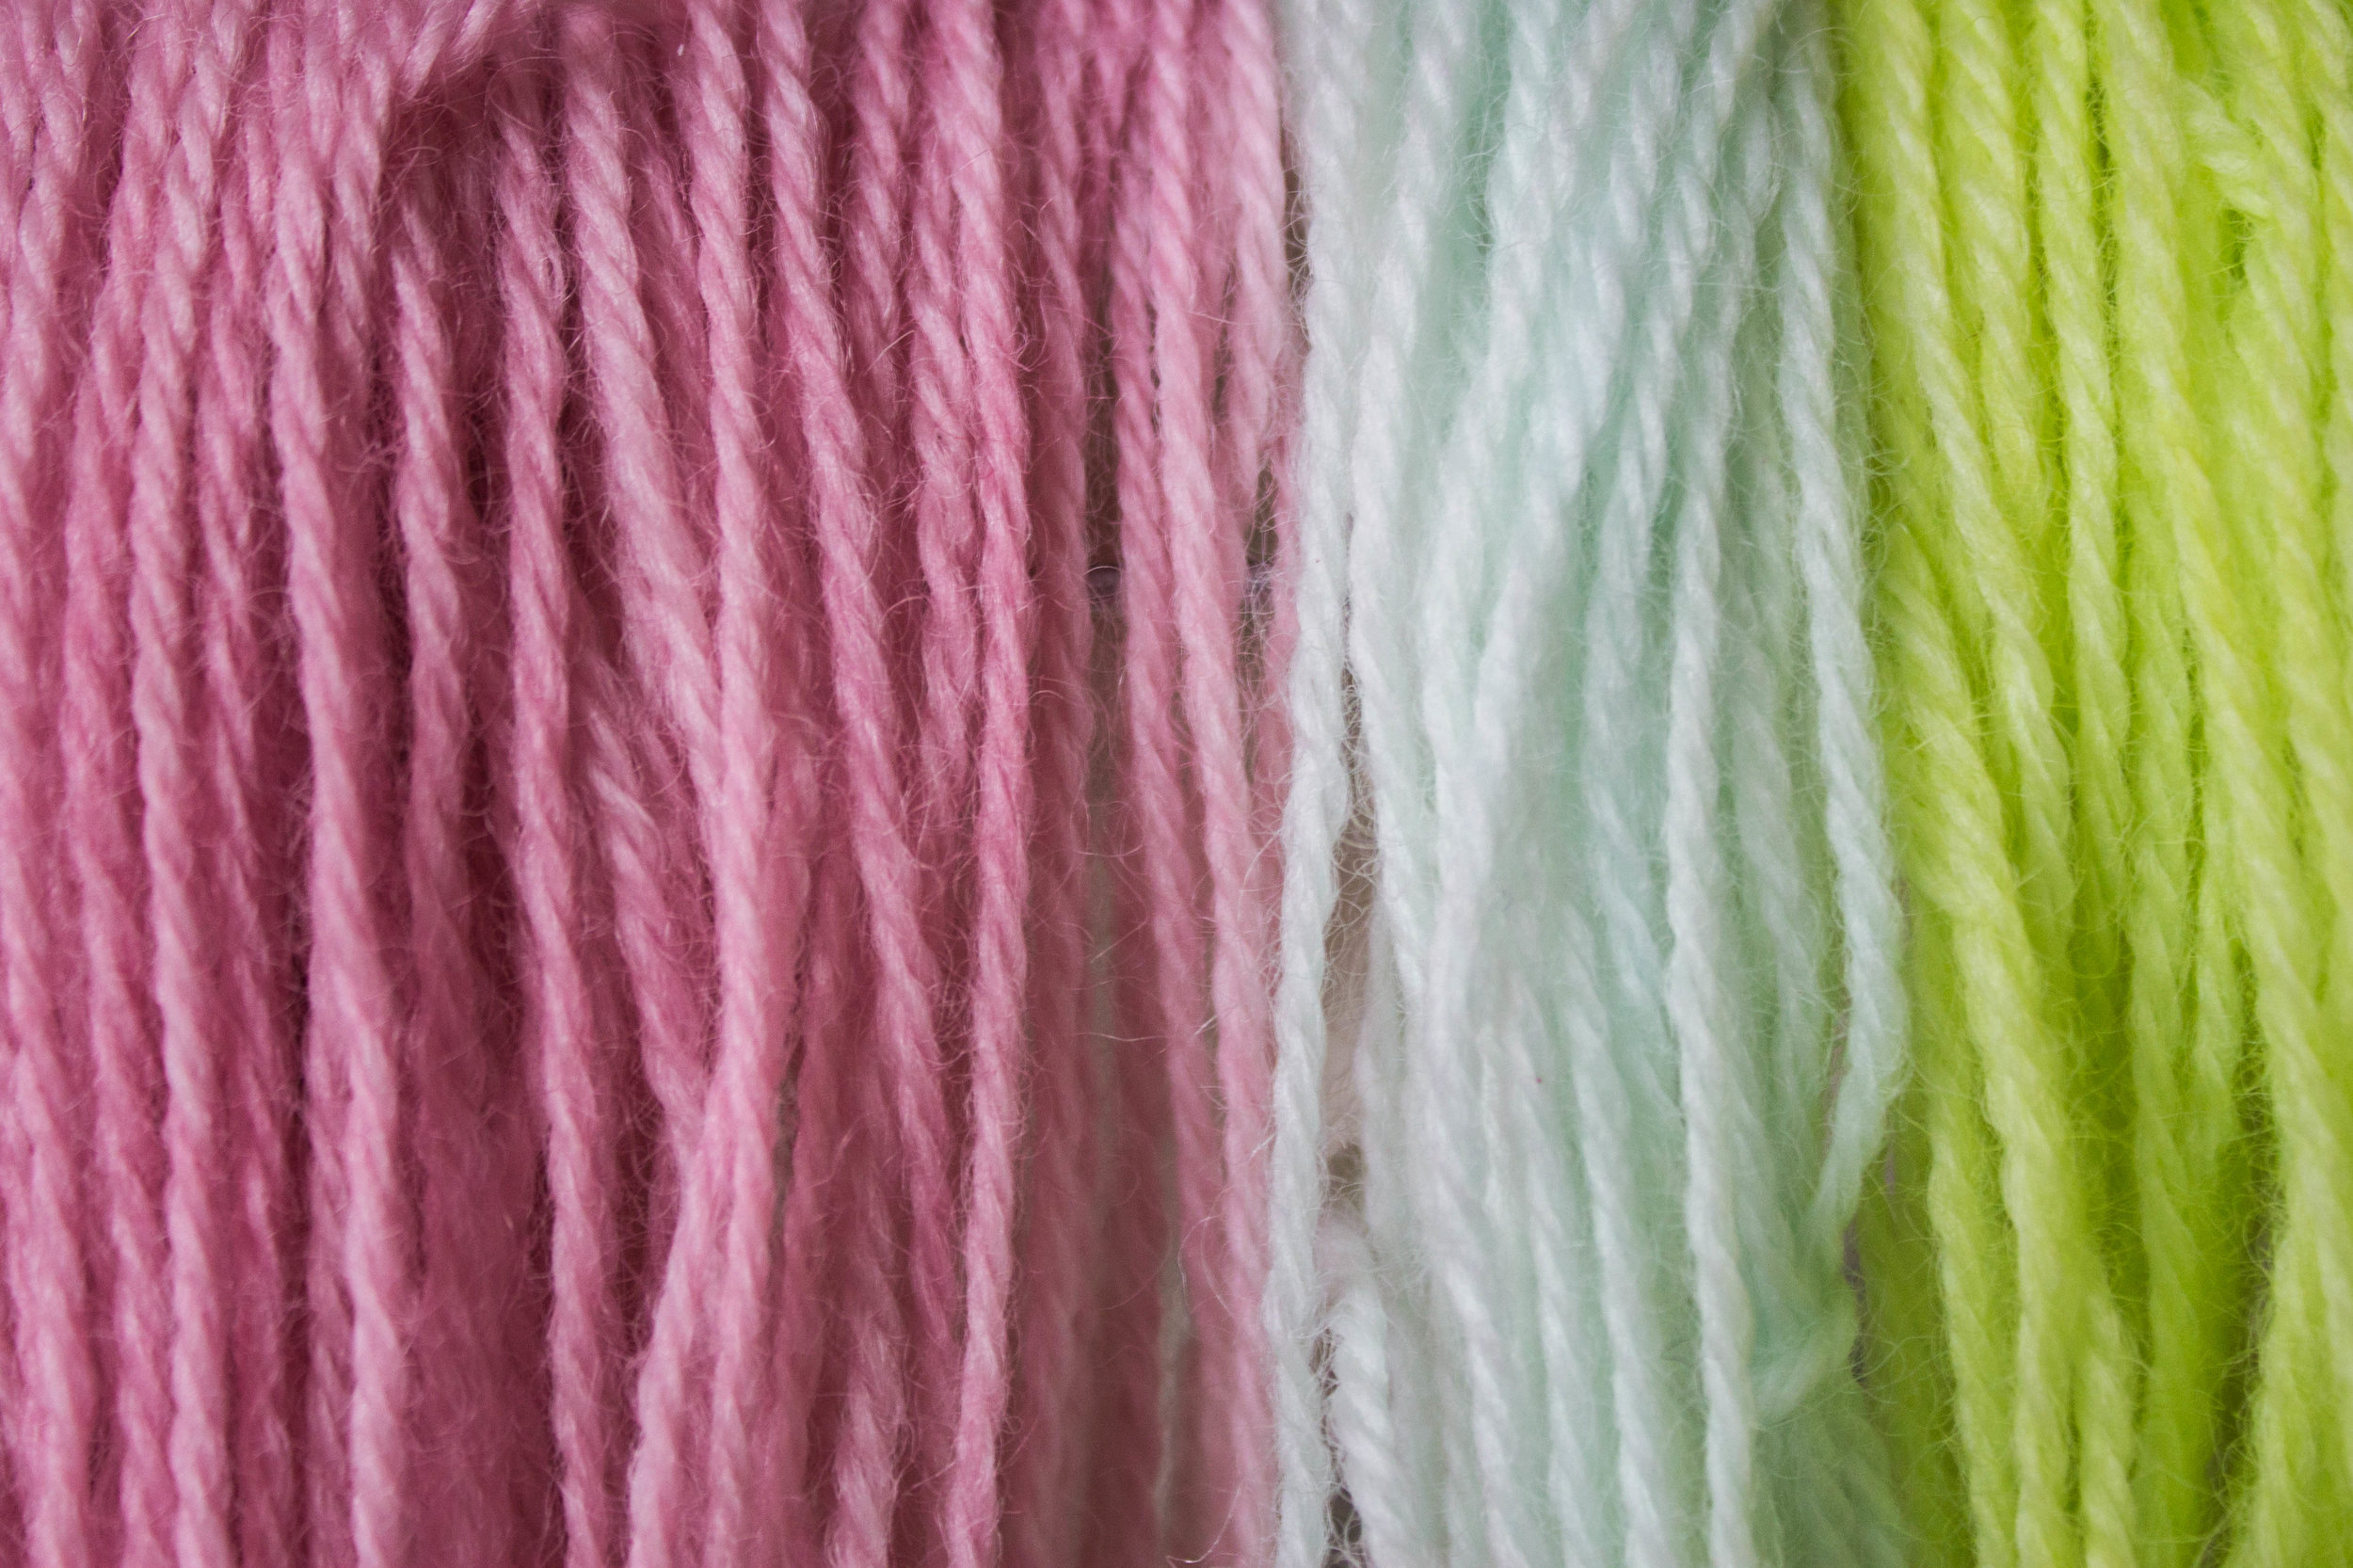
And now for the finished products...


This wool was made by randomly placing red, yellow, and orange Skittles on top of the wool and letting it all mix together right in the pot.

We created this electric green by dissolving green Skittles in the jar of hot water

Warm toned Runtz (red, yellow, and orange) were used to create this soft peachy color.
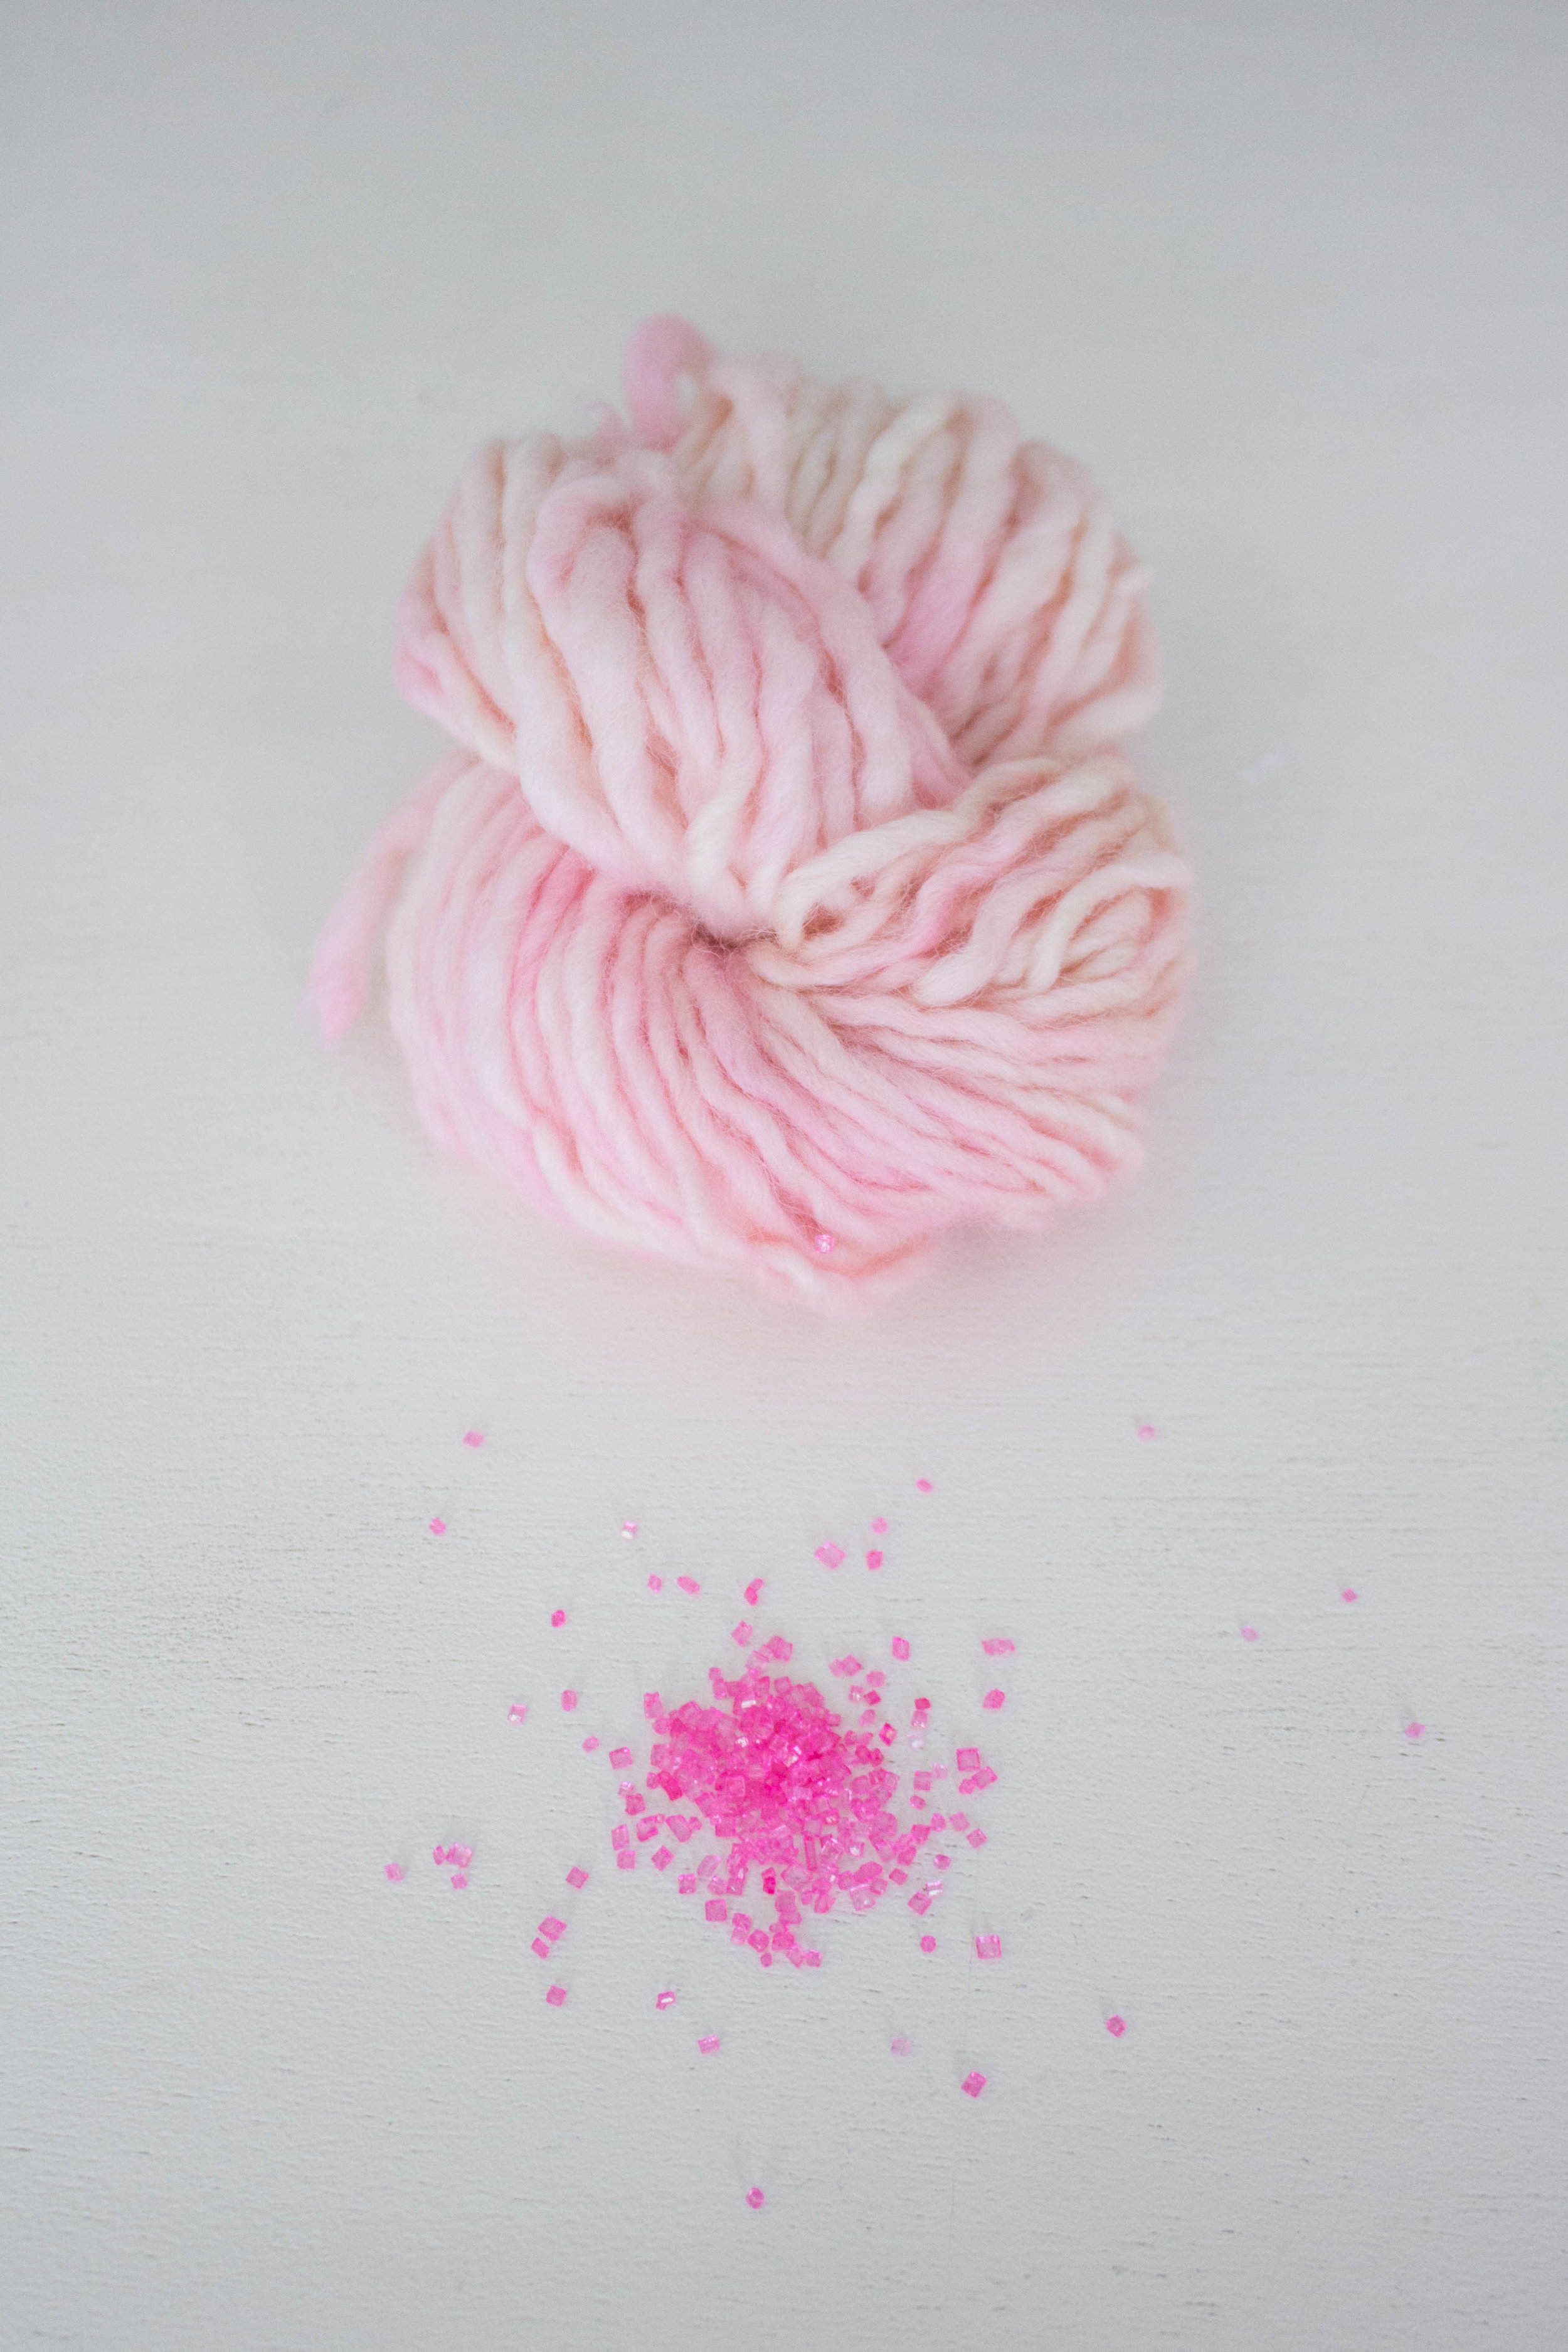
Pink sprinkles turned this wool into a beautiful marbled pink color that appears to change color depending on how the light hits it.

Getting in the Halloween-y spirit, we used candy corns to make this happy yellowy orange color.
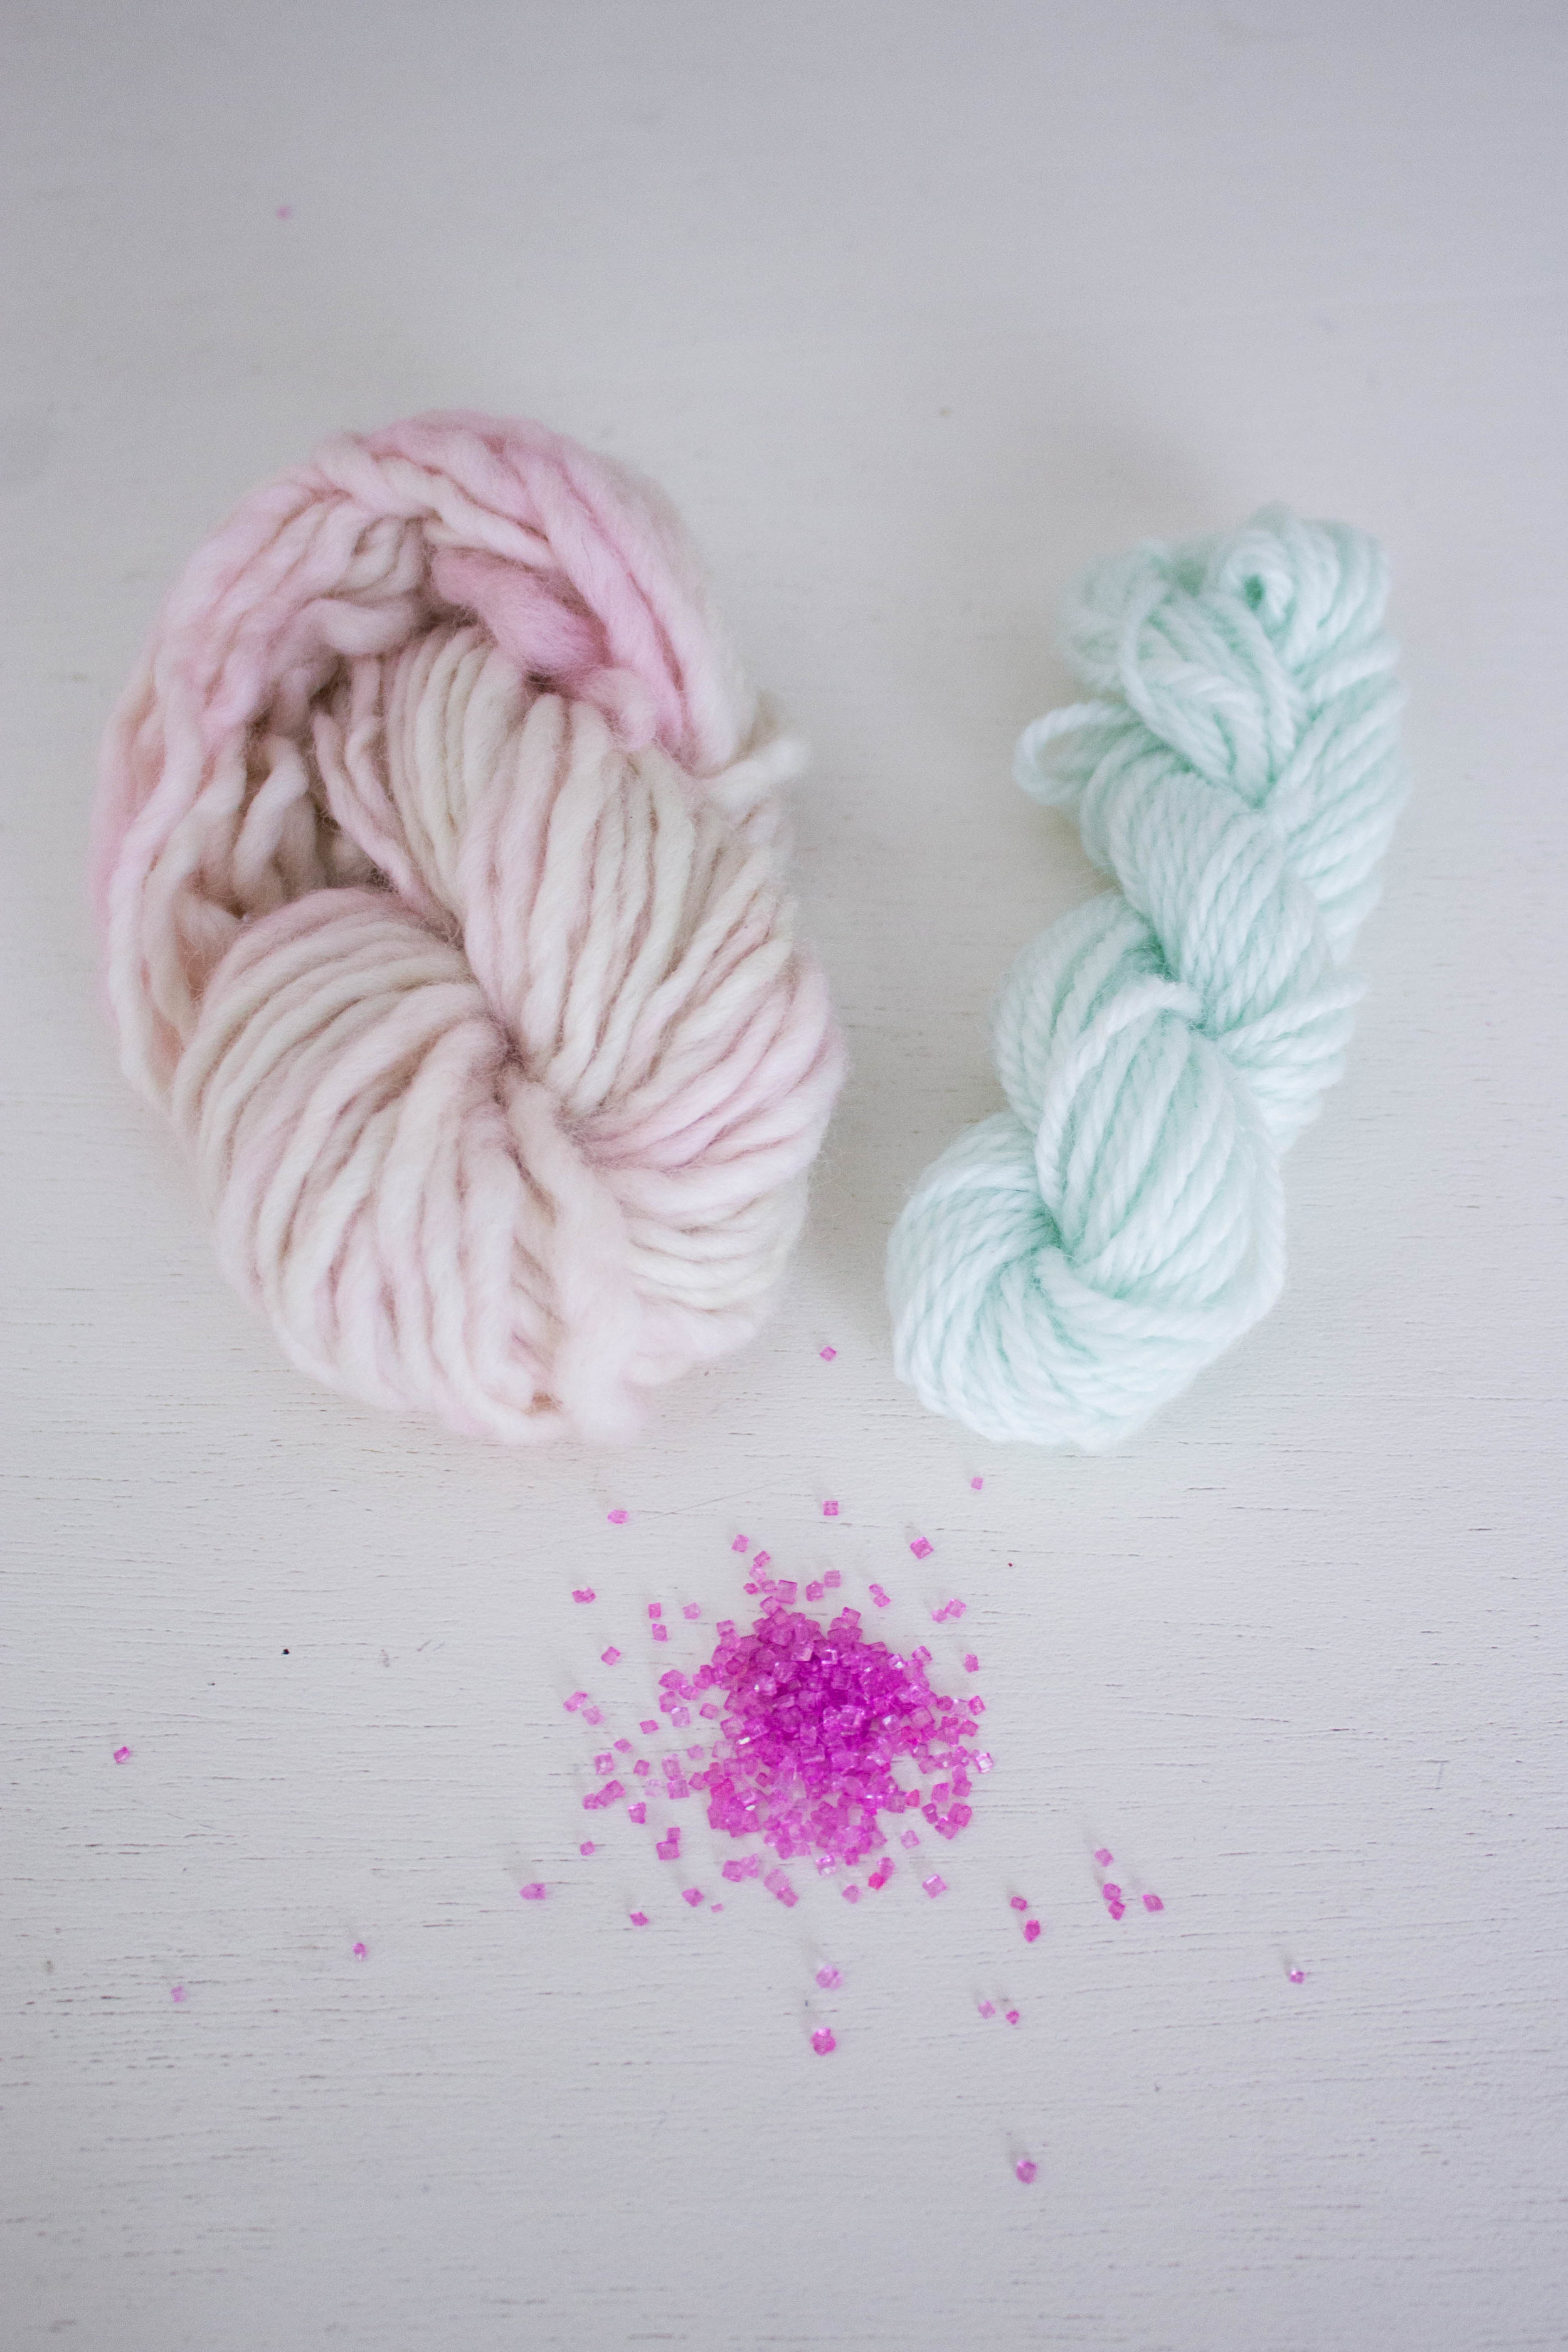
The purple sprinkles did something really cool - they turned the first skein a splotchy pink but left blue colors in the water. When we put in a second skein it absorbed the left over blue and turned a gorgeous light shade of blue!

Purple Skittles turned the wool into a light purple consistent all the way through.

And there you have it, folks! All the information you could possibly need to successfully dye your very own wool with ingredients you can find anywhere and everywhere!
A huge thank you to Arielle for working with me on this post and teaching me the art of candy dyeing wool! Find her, her beautiful wall hangings and more naturally dyed wool over on her Etsy shop, CakeSpun Fibreworks