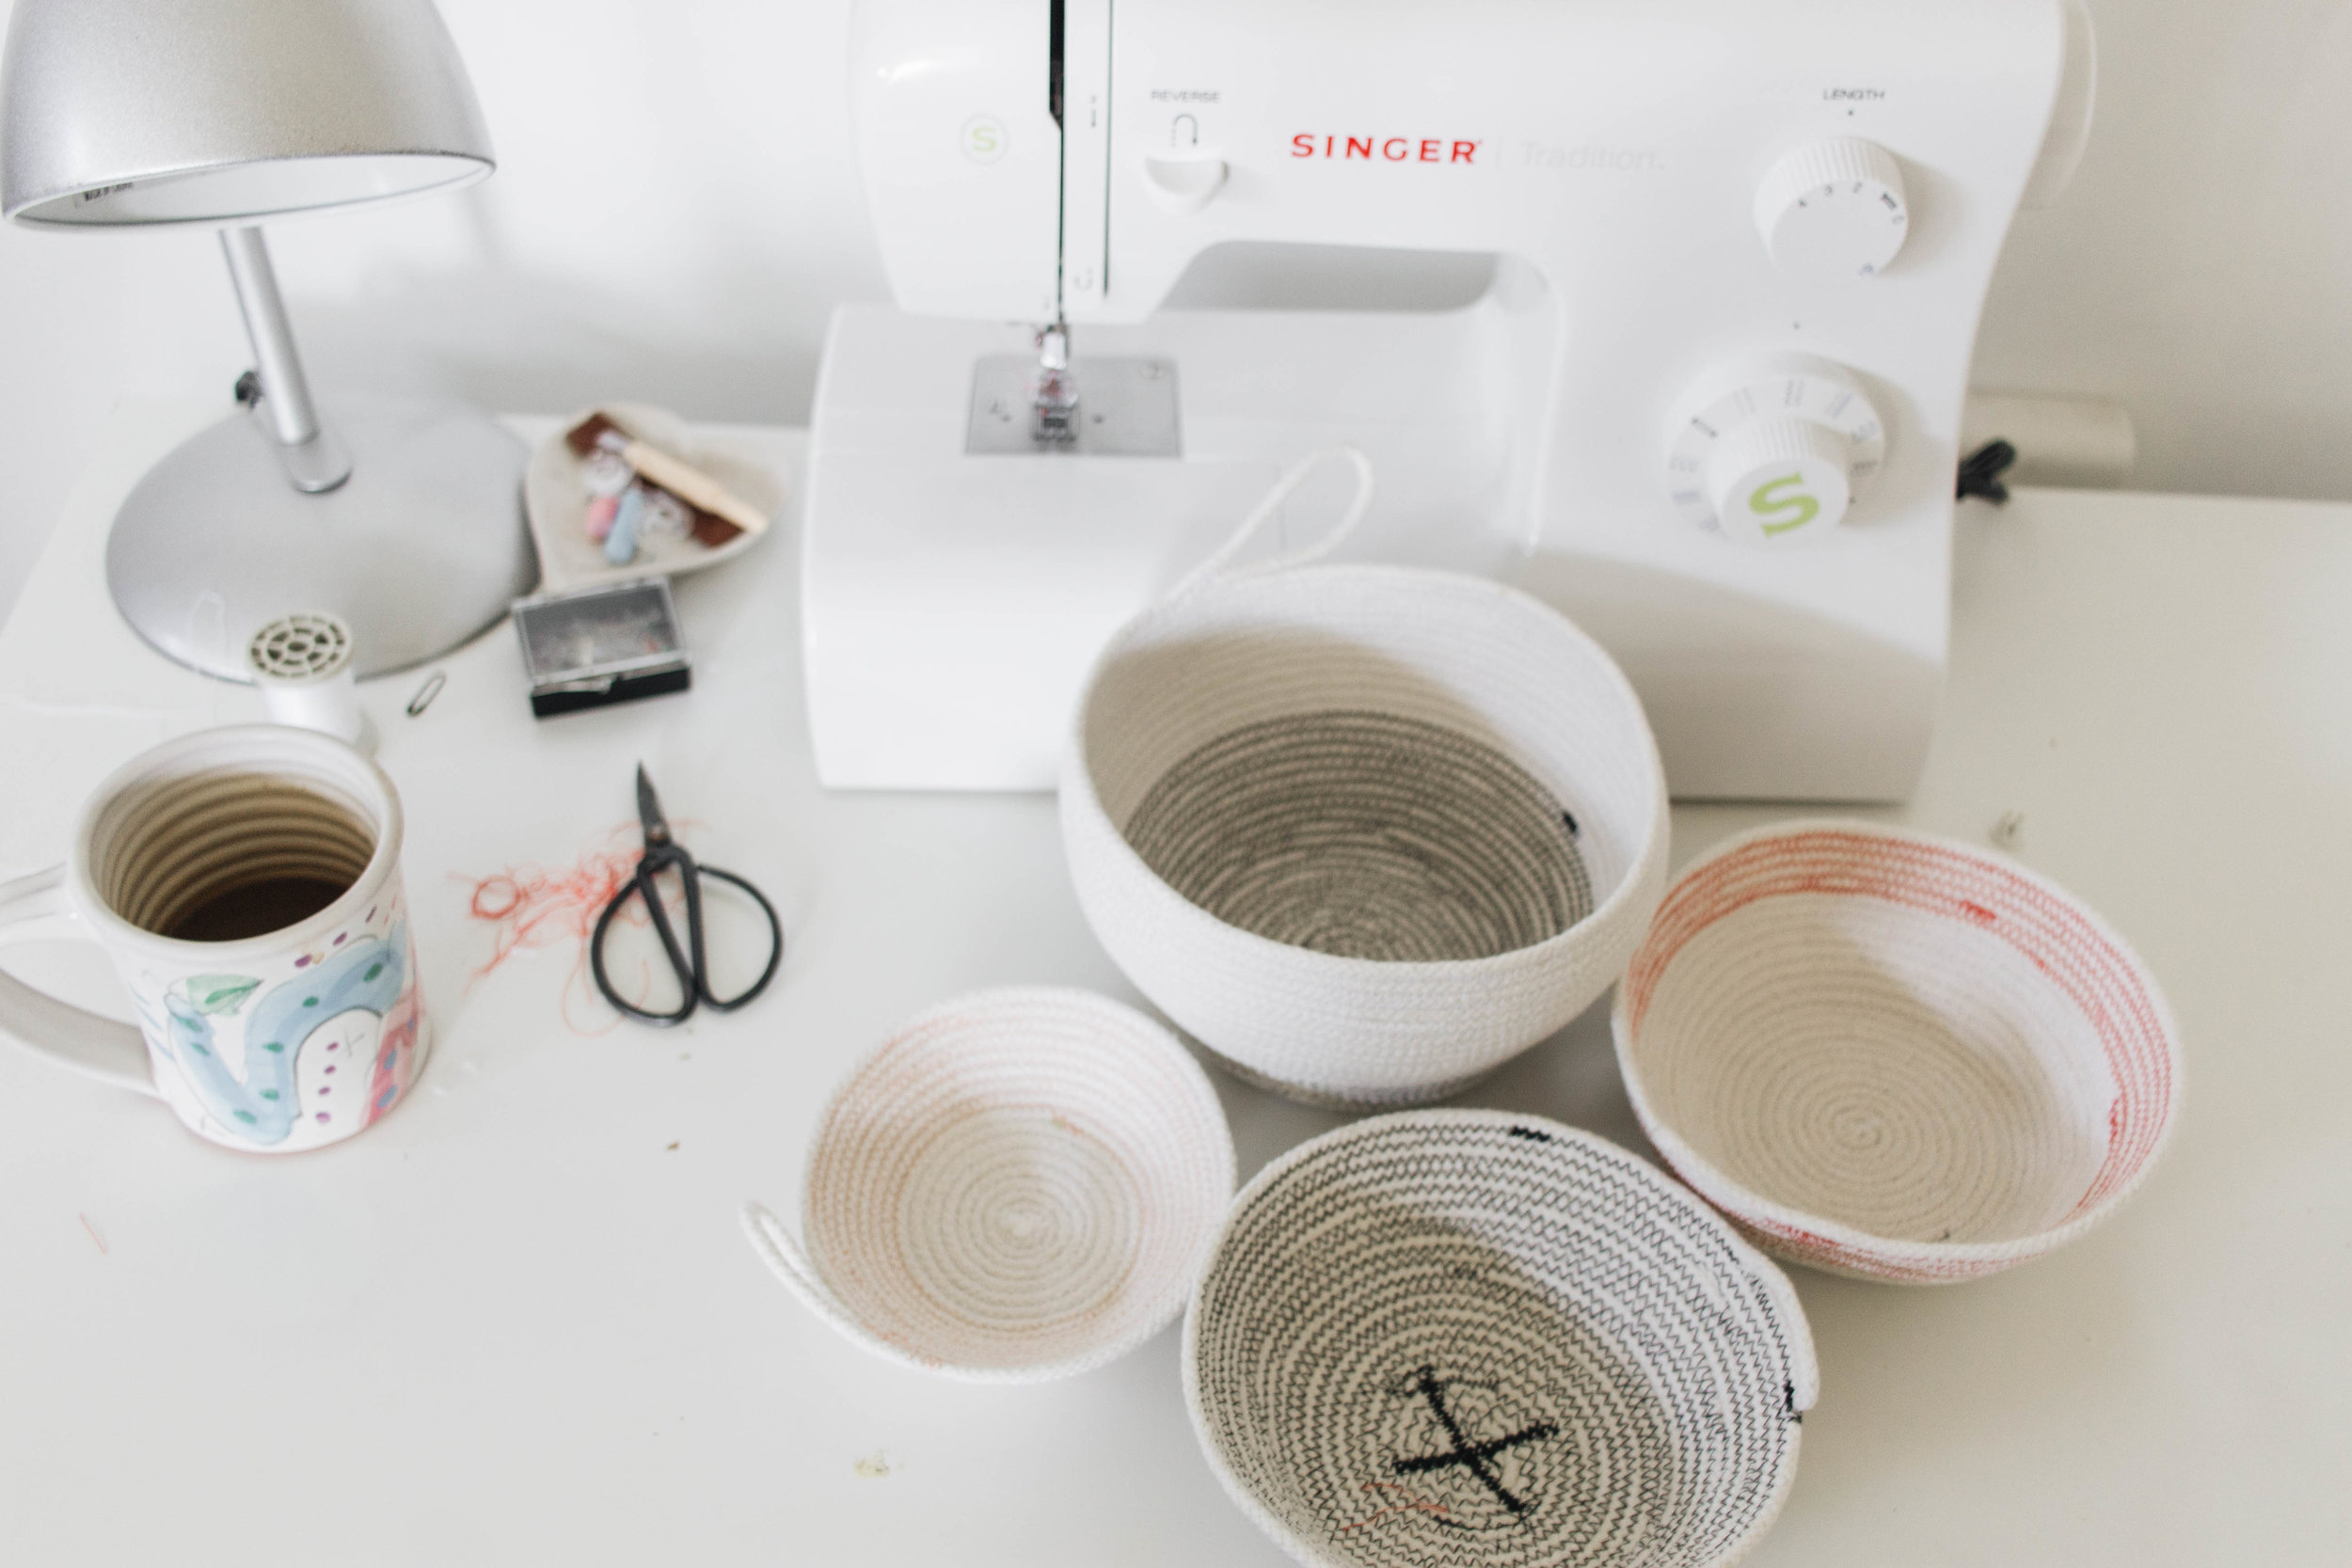
DIY Rope Bowl

Making things is one of my favourite ways to spend my time. I like the challenge of figuring out how to make things come together in beautiful ways to create something functional or pretty to make my space feel more like my own. Since finishing school last week I've been spending time getting more familiar with the sewing machine I got for my birthday last year. I'm keeping the projects pretty simple and as inexpensive as possible (because they usually turn out looking like something a small child made) but I was really excited by how this one turned out so I thought I'd share it with you! It's nothing revolutionary and there are tons of tutorials on YouTube or Pinterest on how to make these cotton rope baskets but I thought I'd take the sunny day opportunity to take out my camera and whip up a bowl.

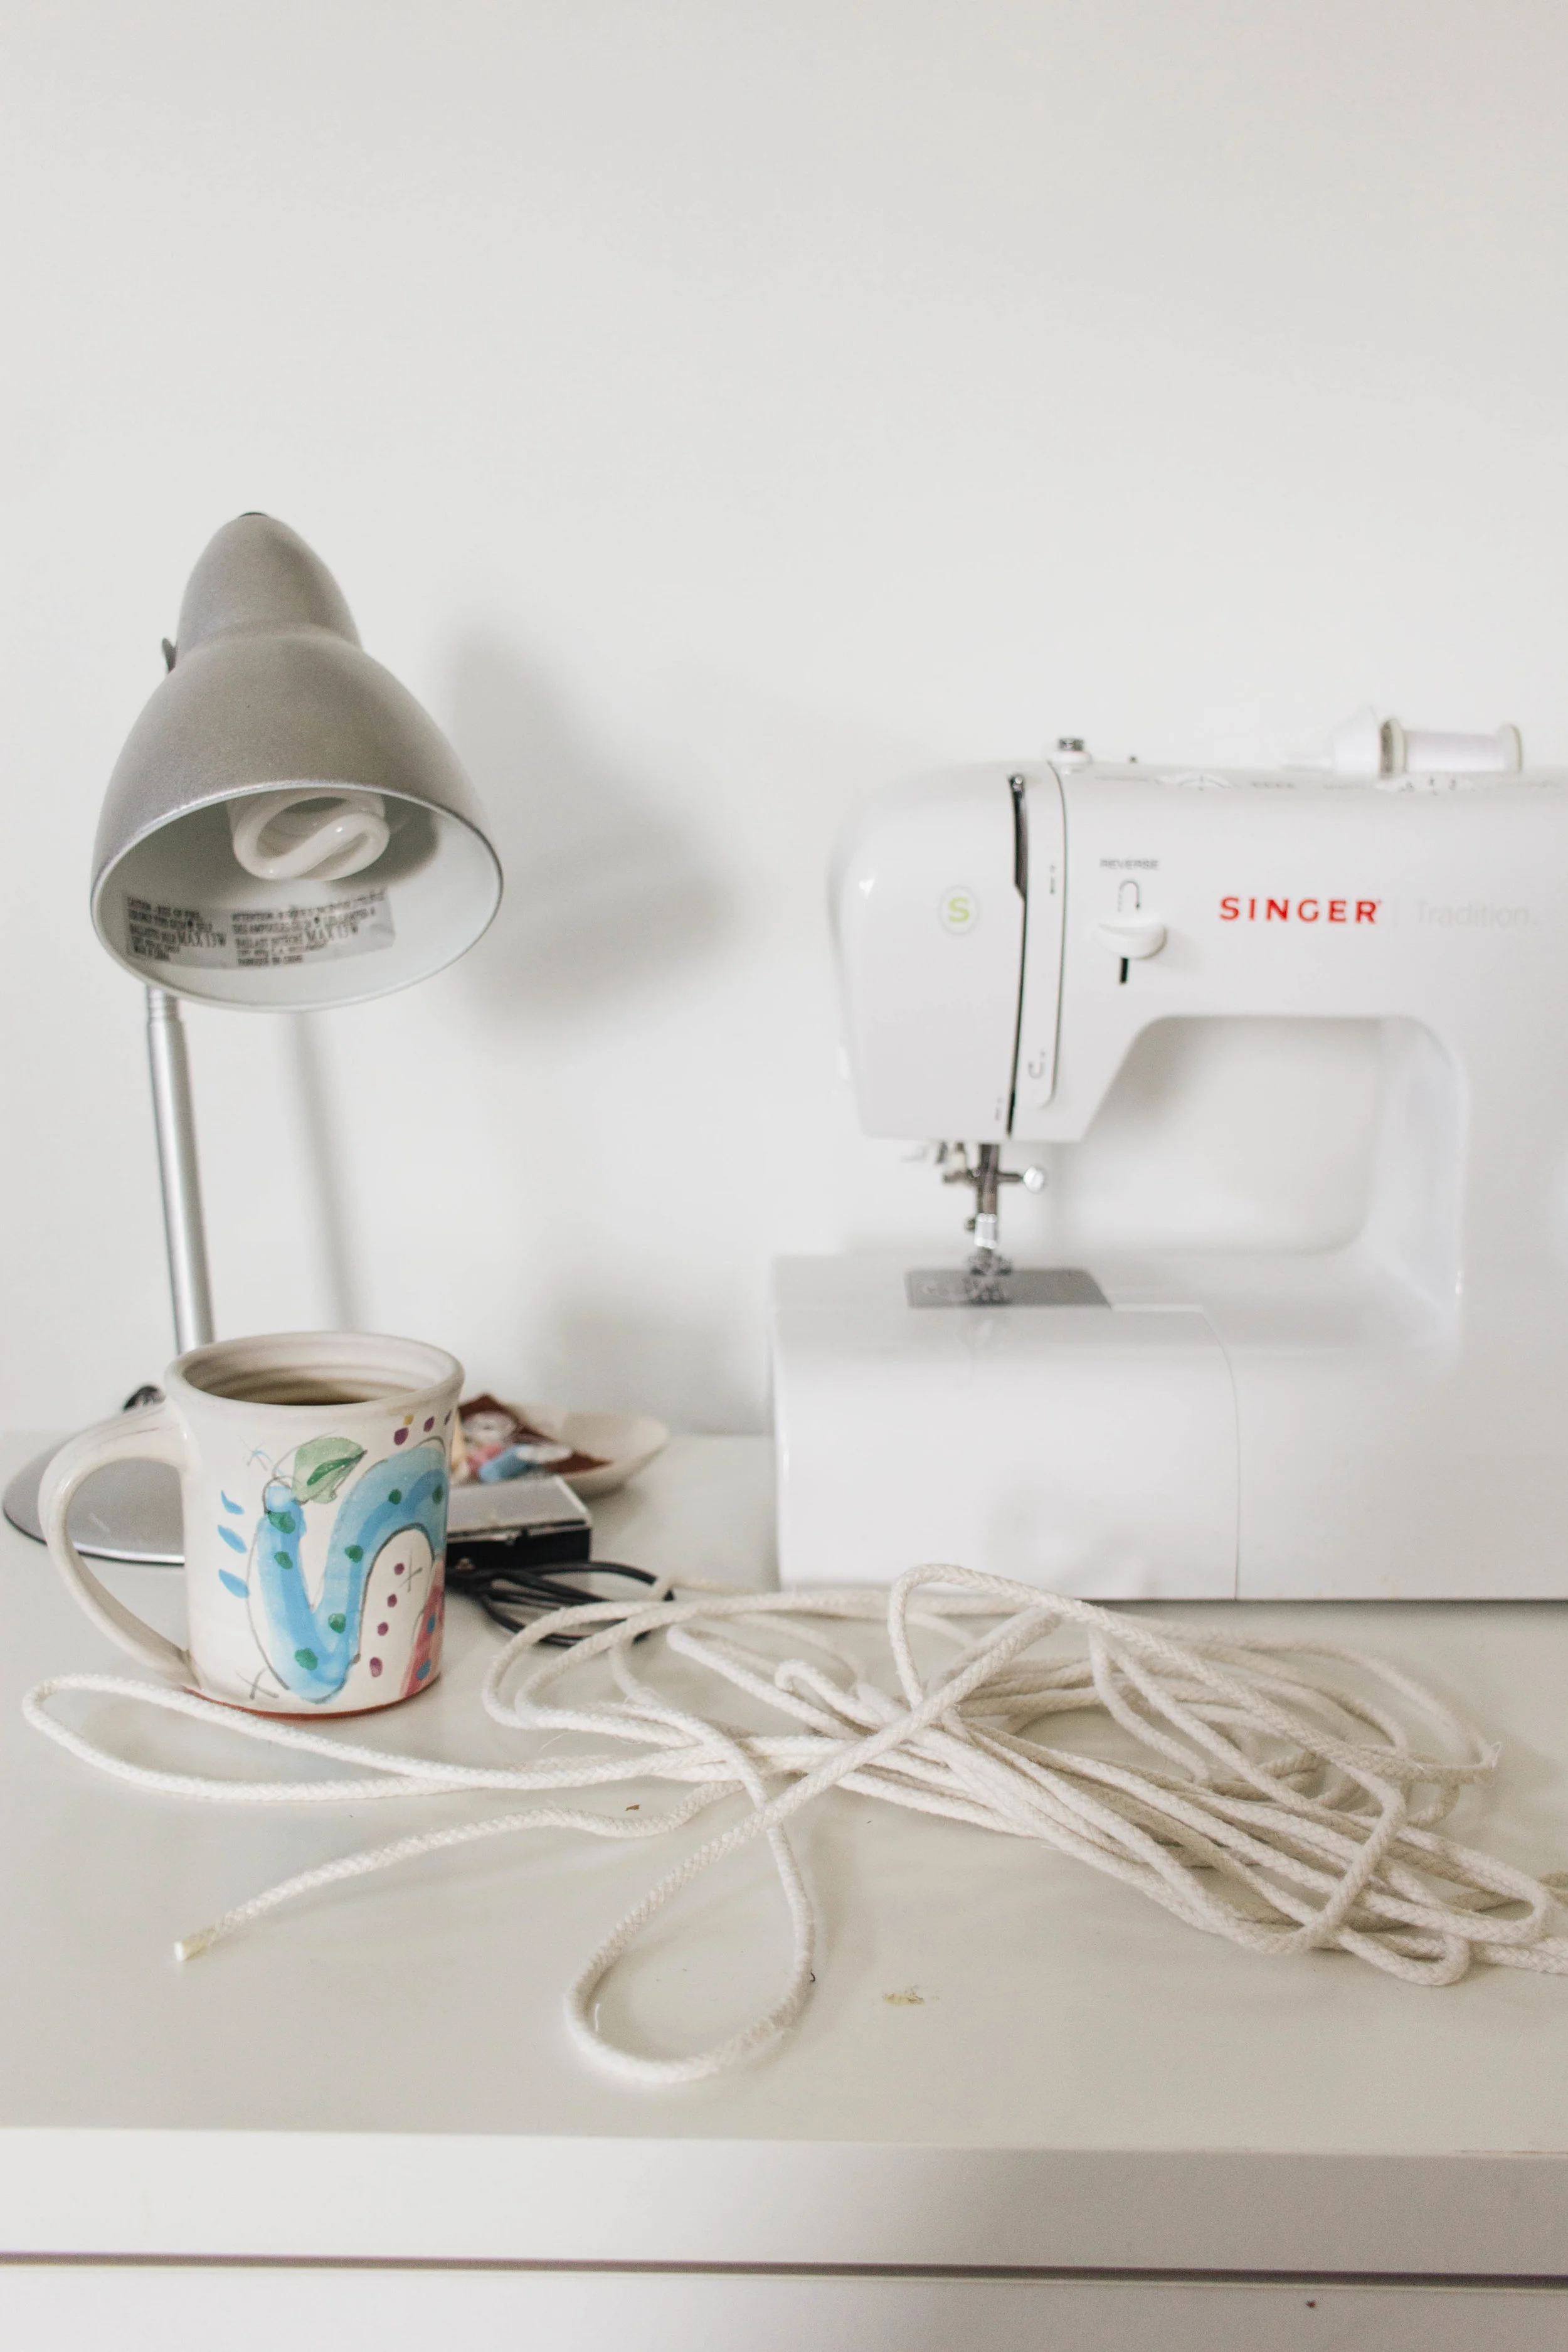
Step 1: Gather your materials.
For this project all you need are scissors, cotton rope, a sewing machine and thread.
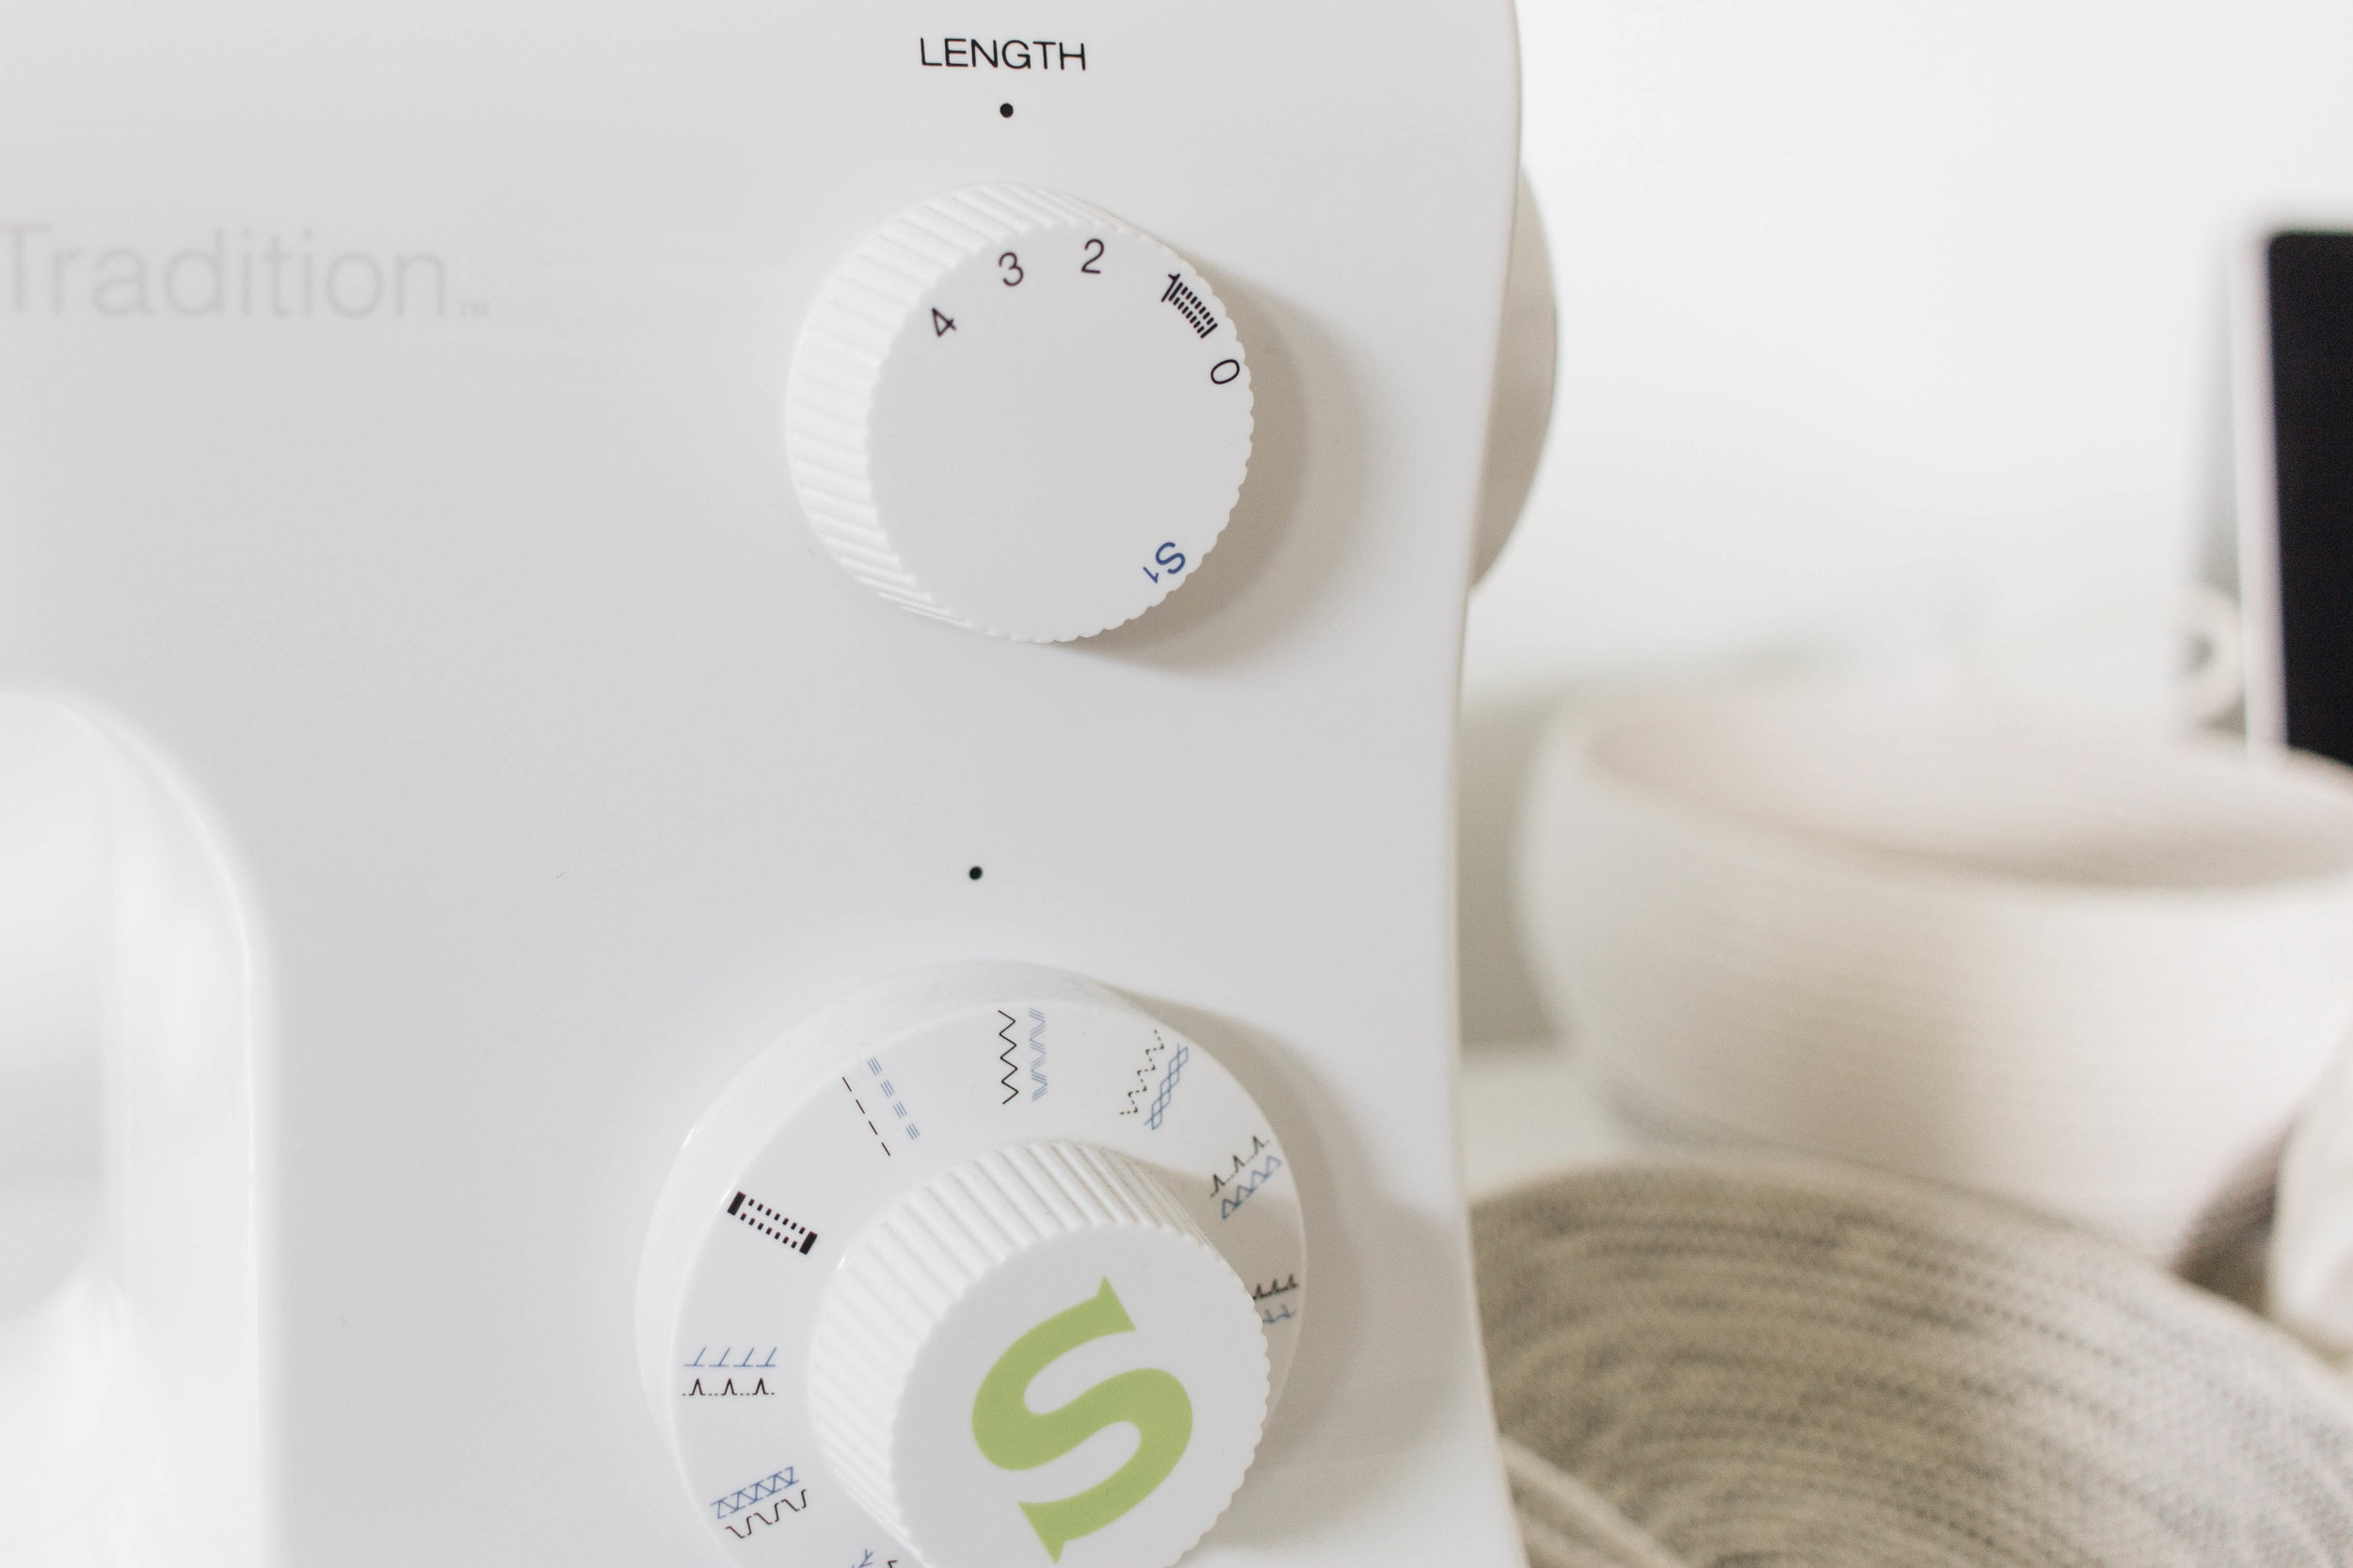
Step 2: Set up your sewing machine
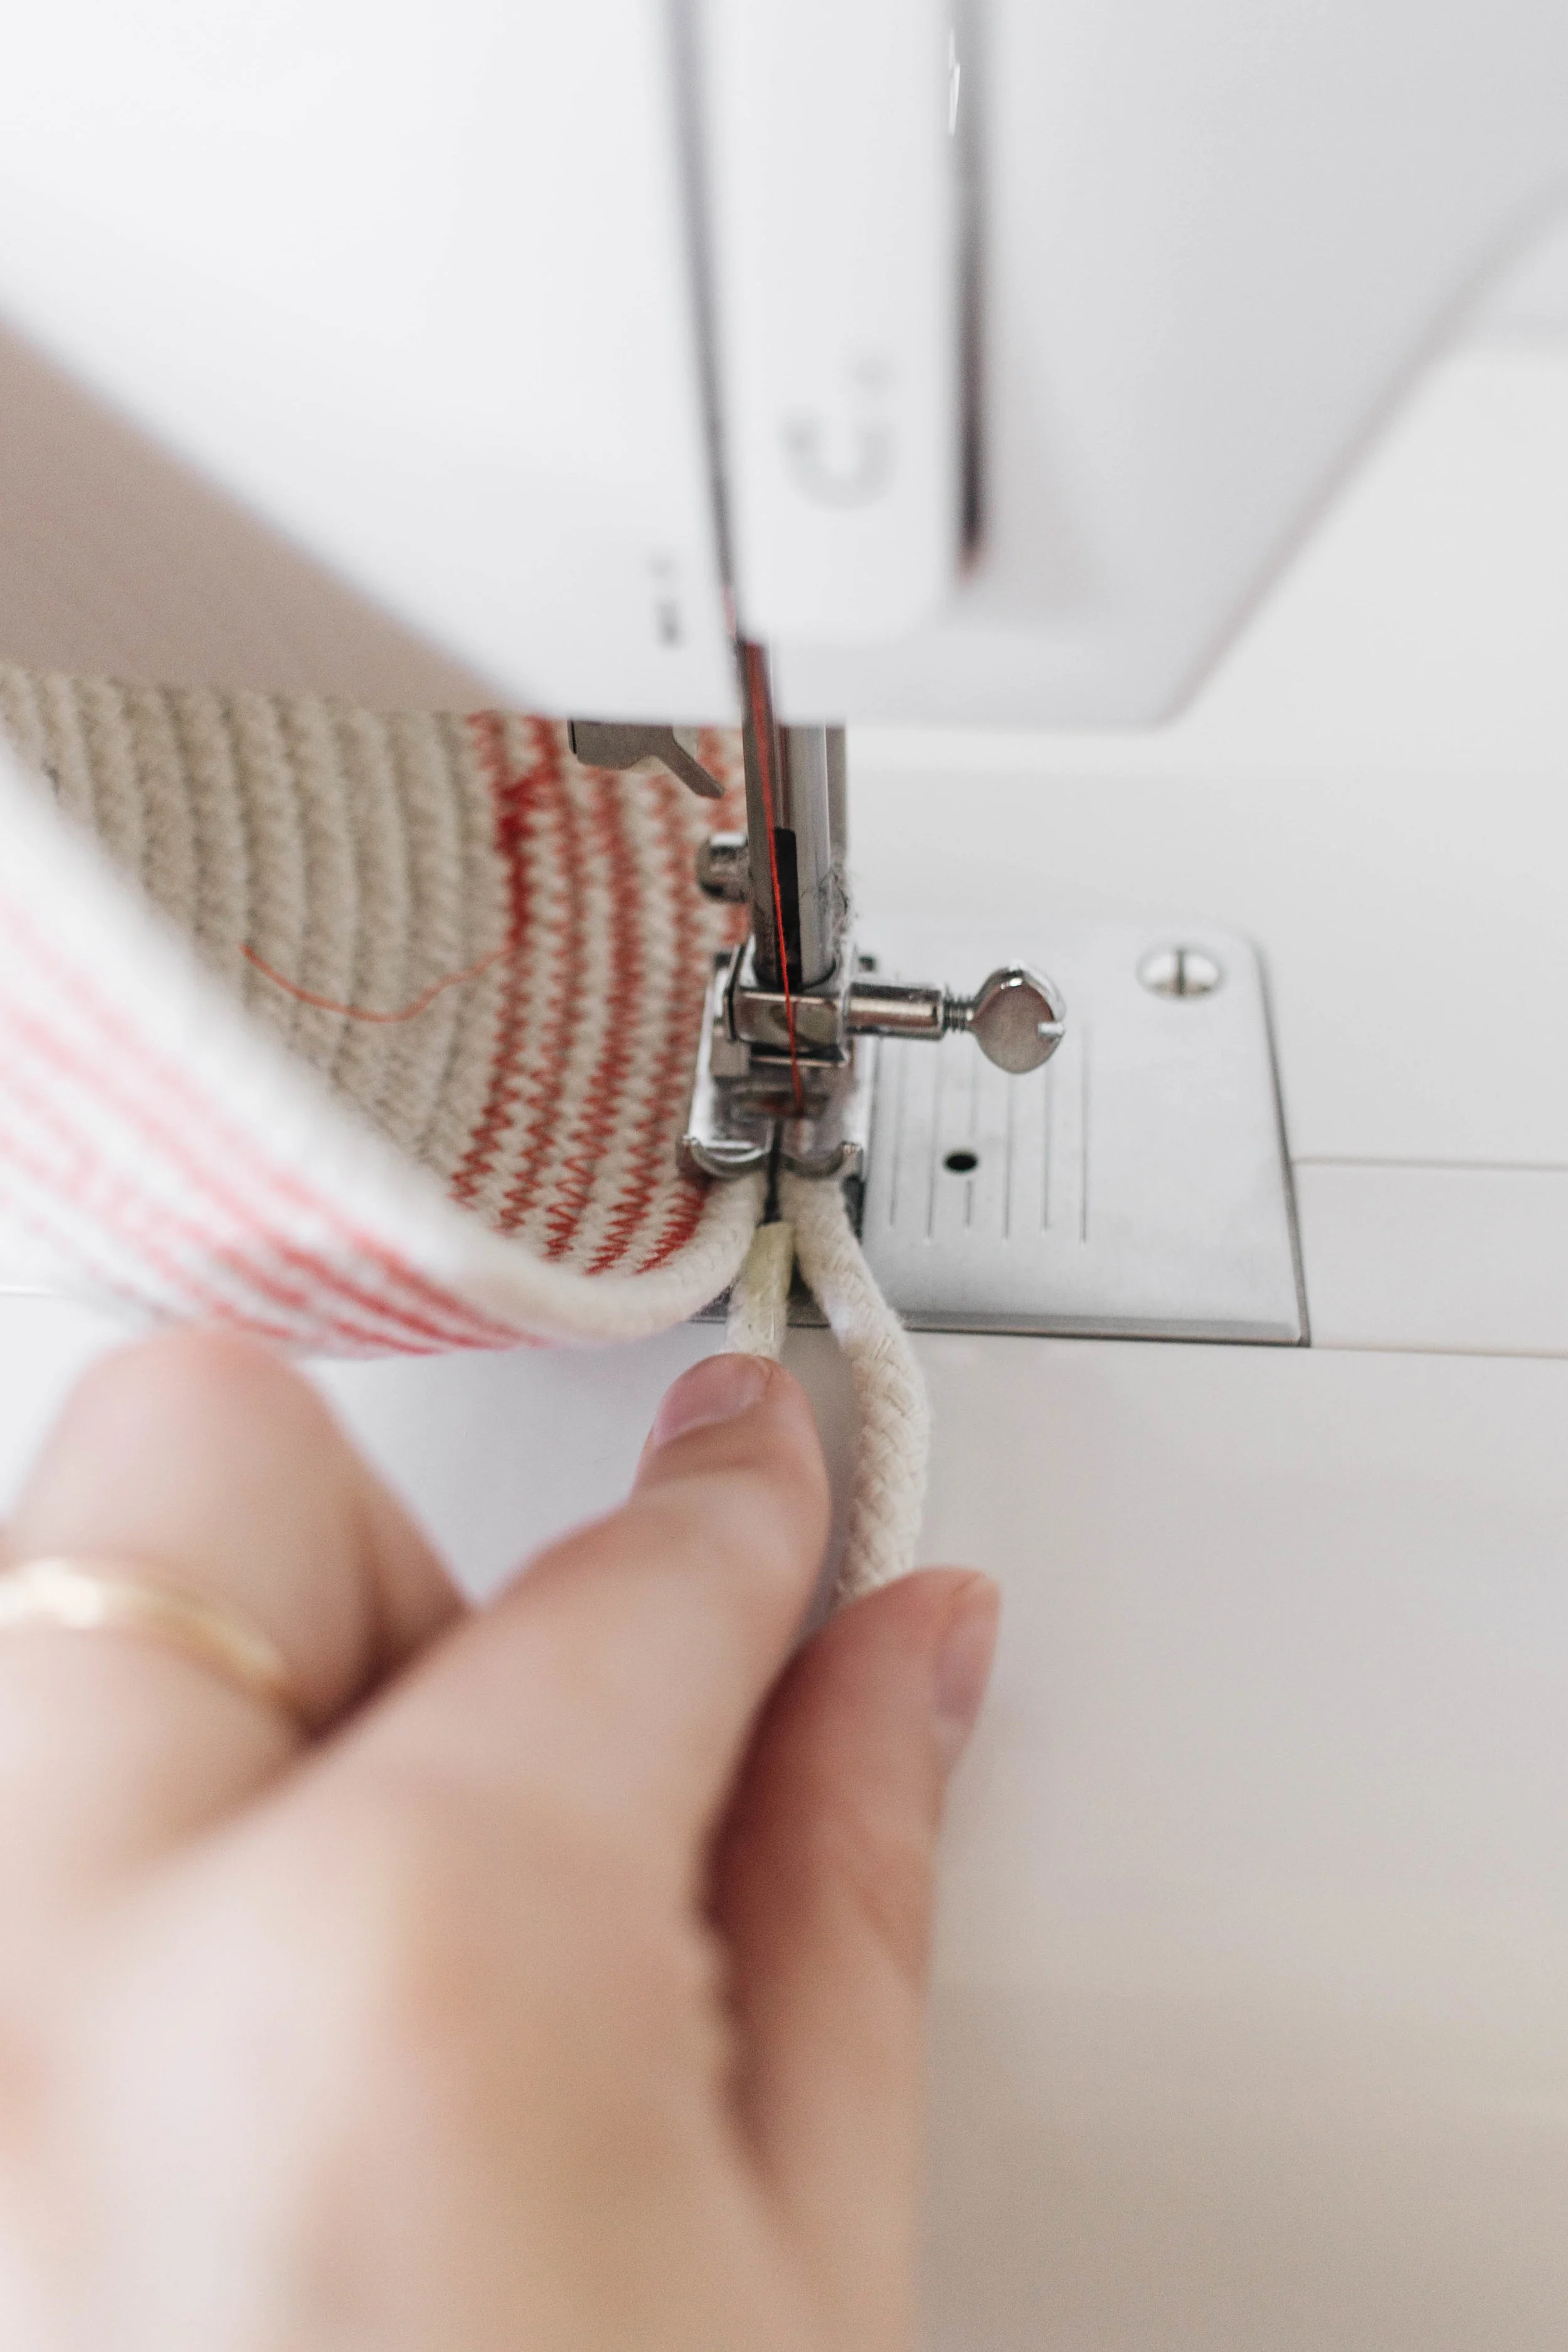
I am still figuring this one out but for this project I set the stitch length to 3 and the type to zig zag. It's important it's on zig zag so that you catch both sides of the rope when you're sewing it around.
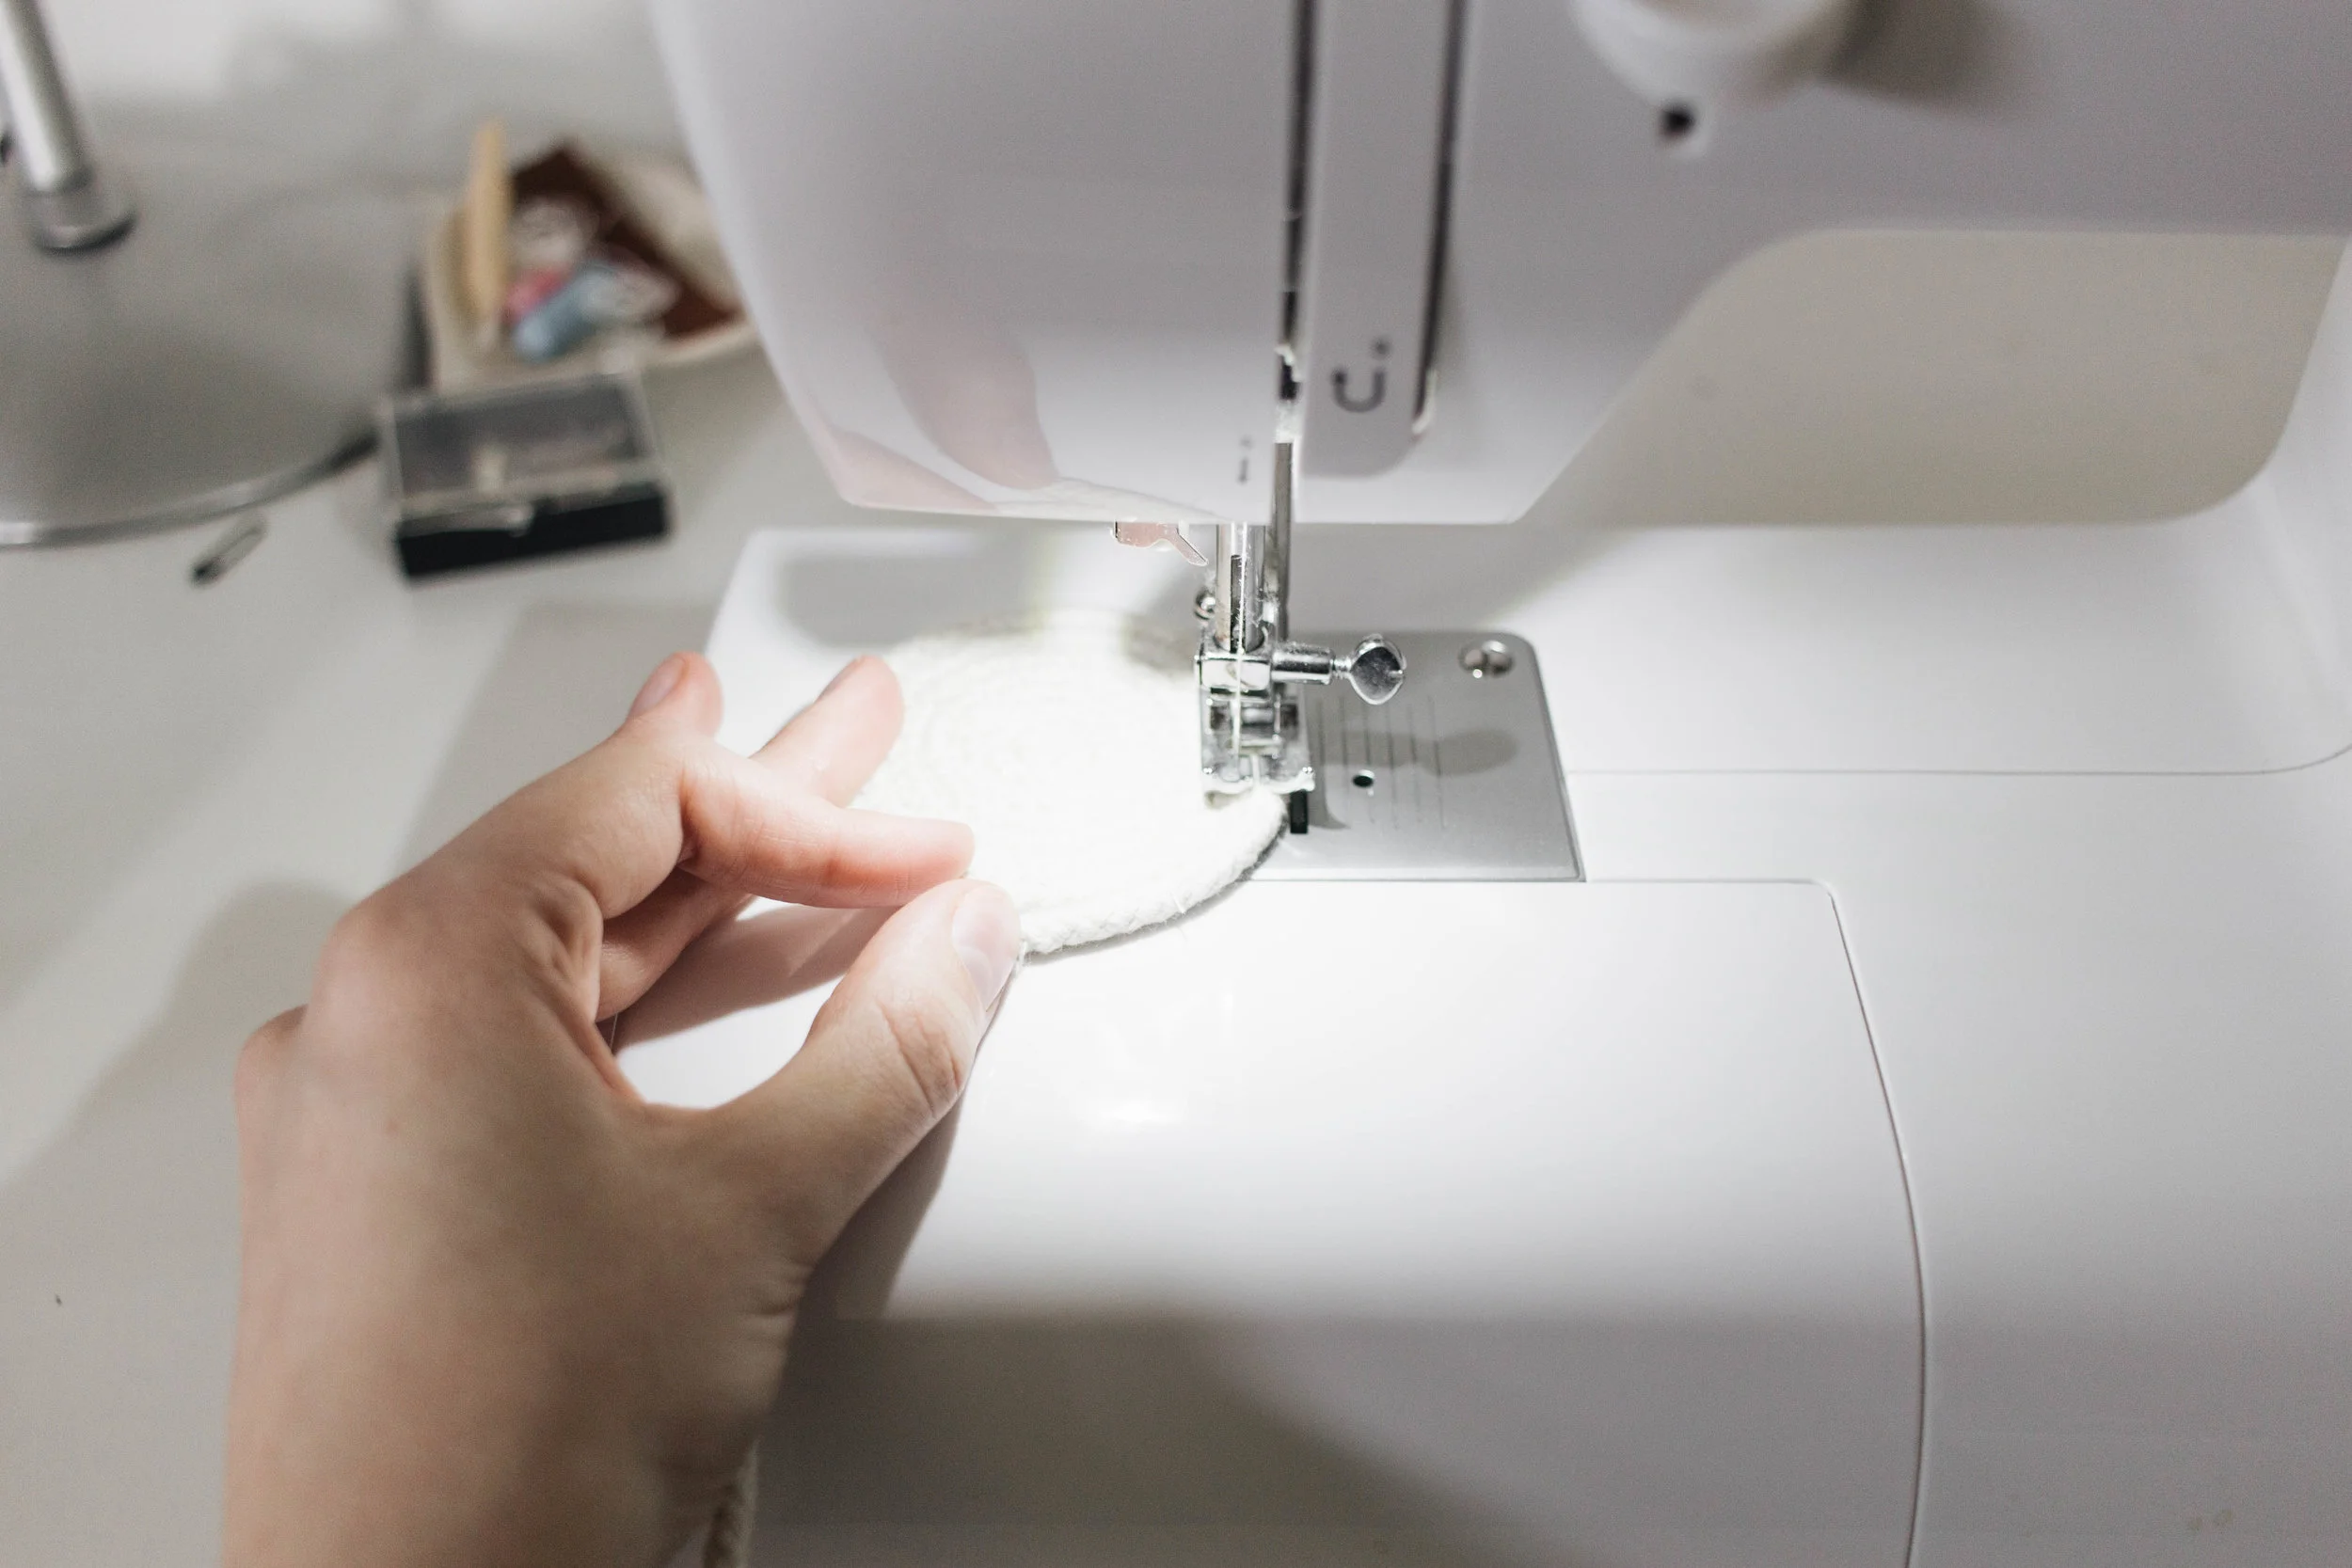
Step 3: Sew the bottom
You're basically creating a giant spiral which sounds easy but can be a bit tricky to start. I found it easiest to go back and forth a couple of times down the first line then slowly start wrapping the rope around itself.

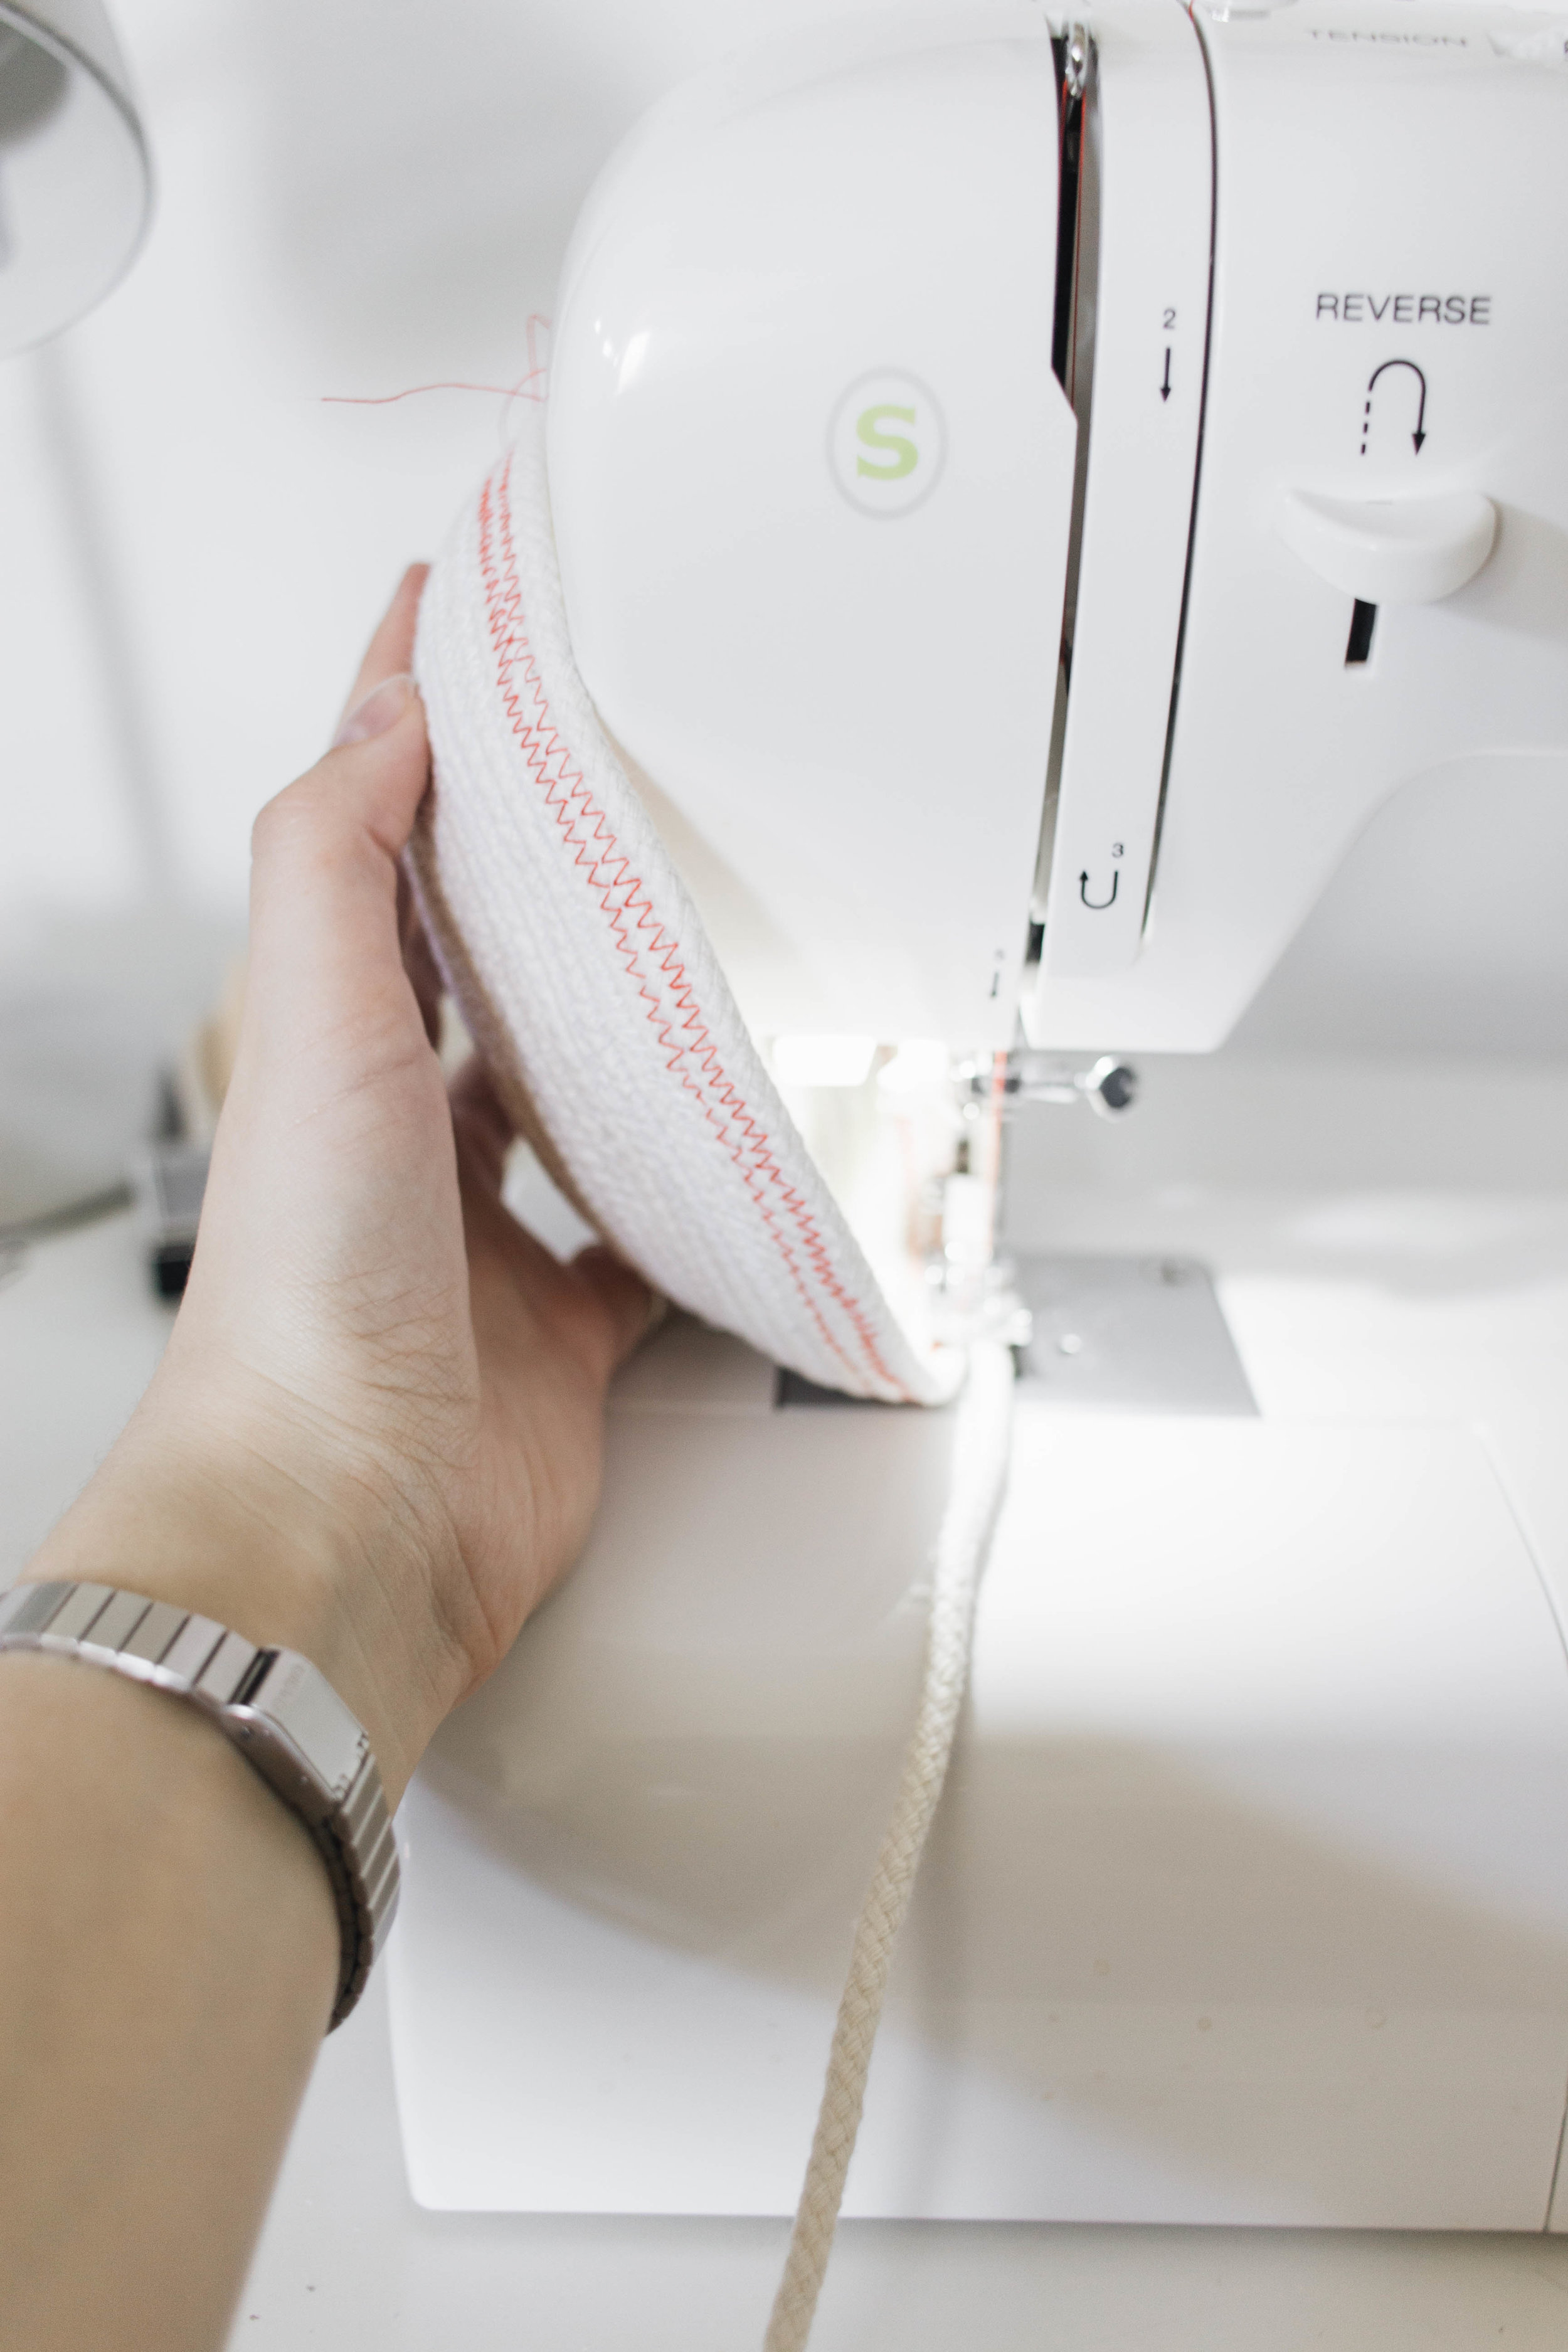
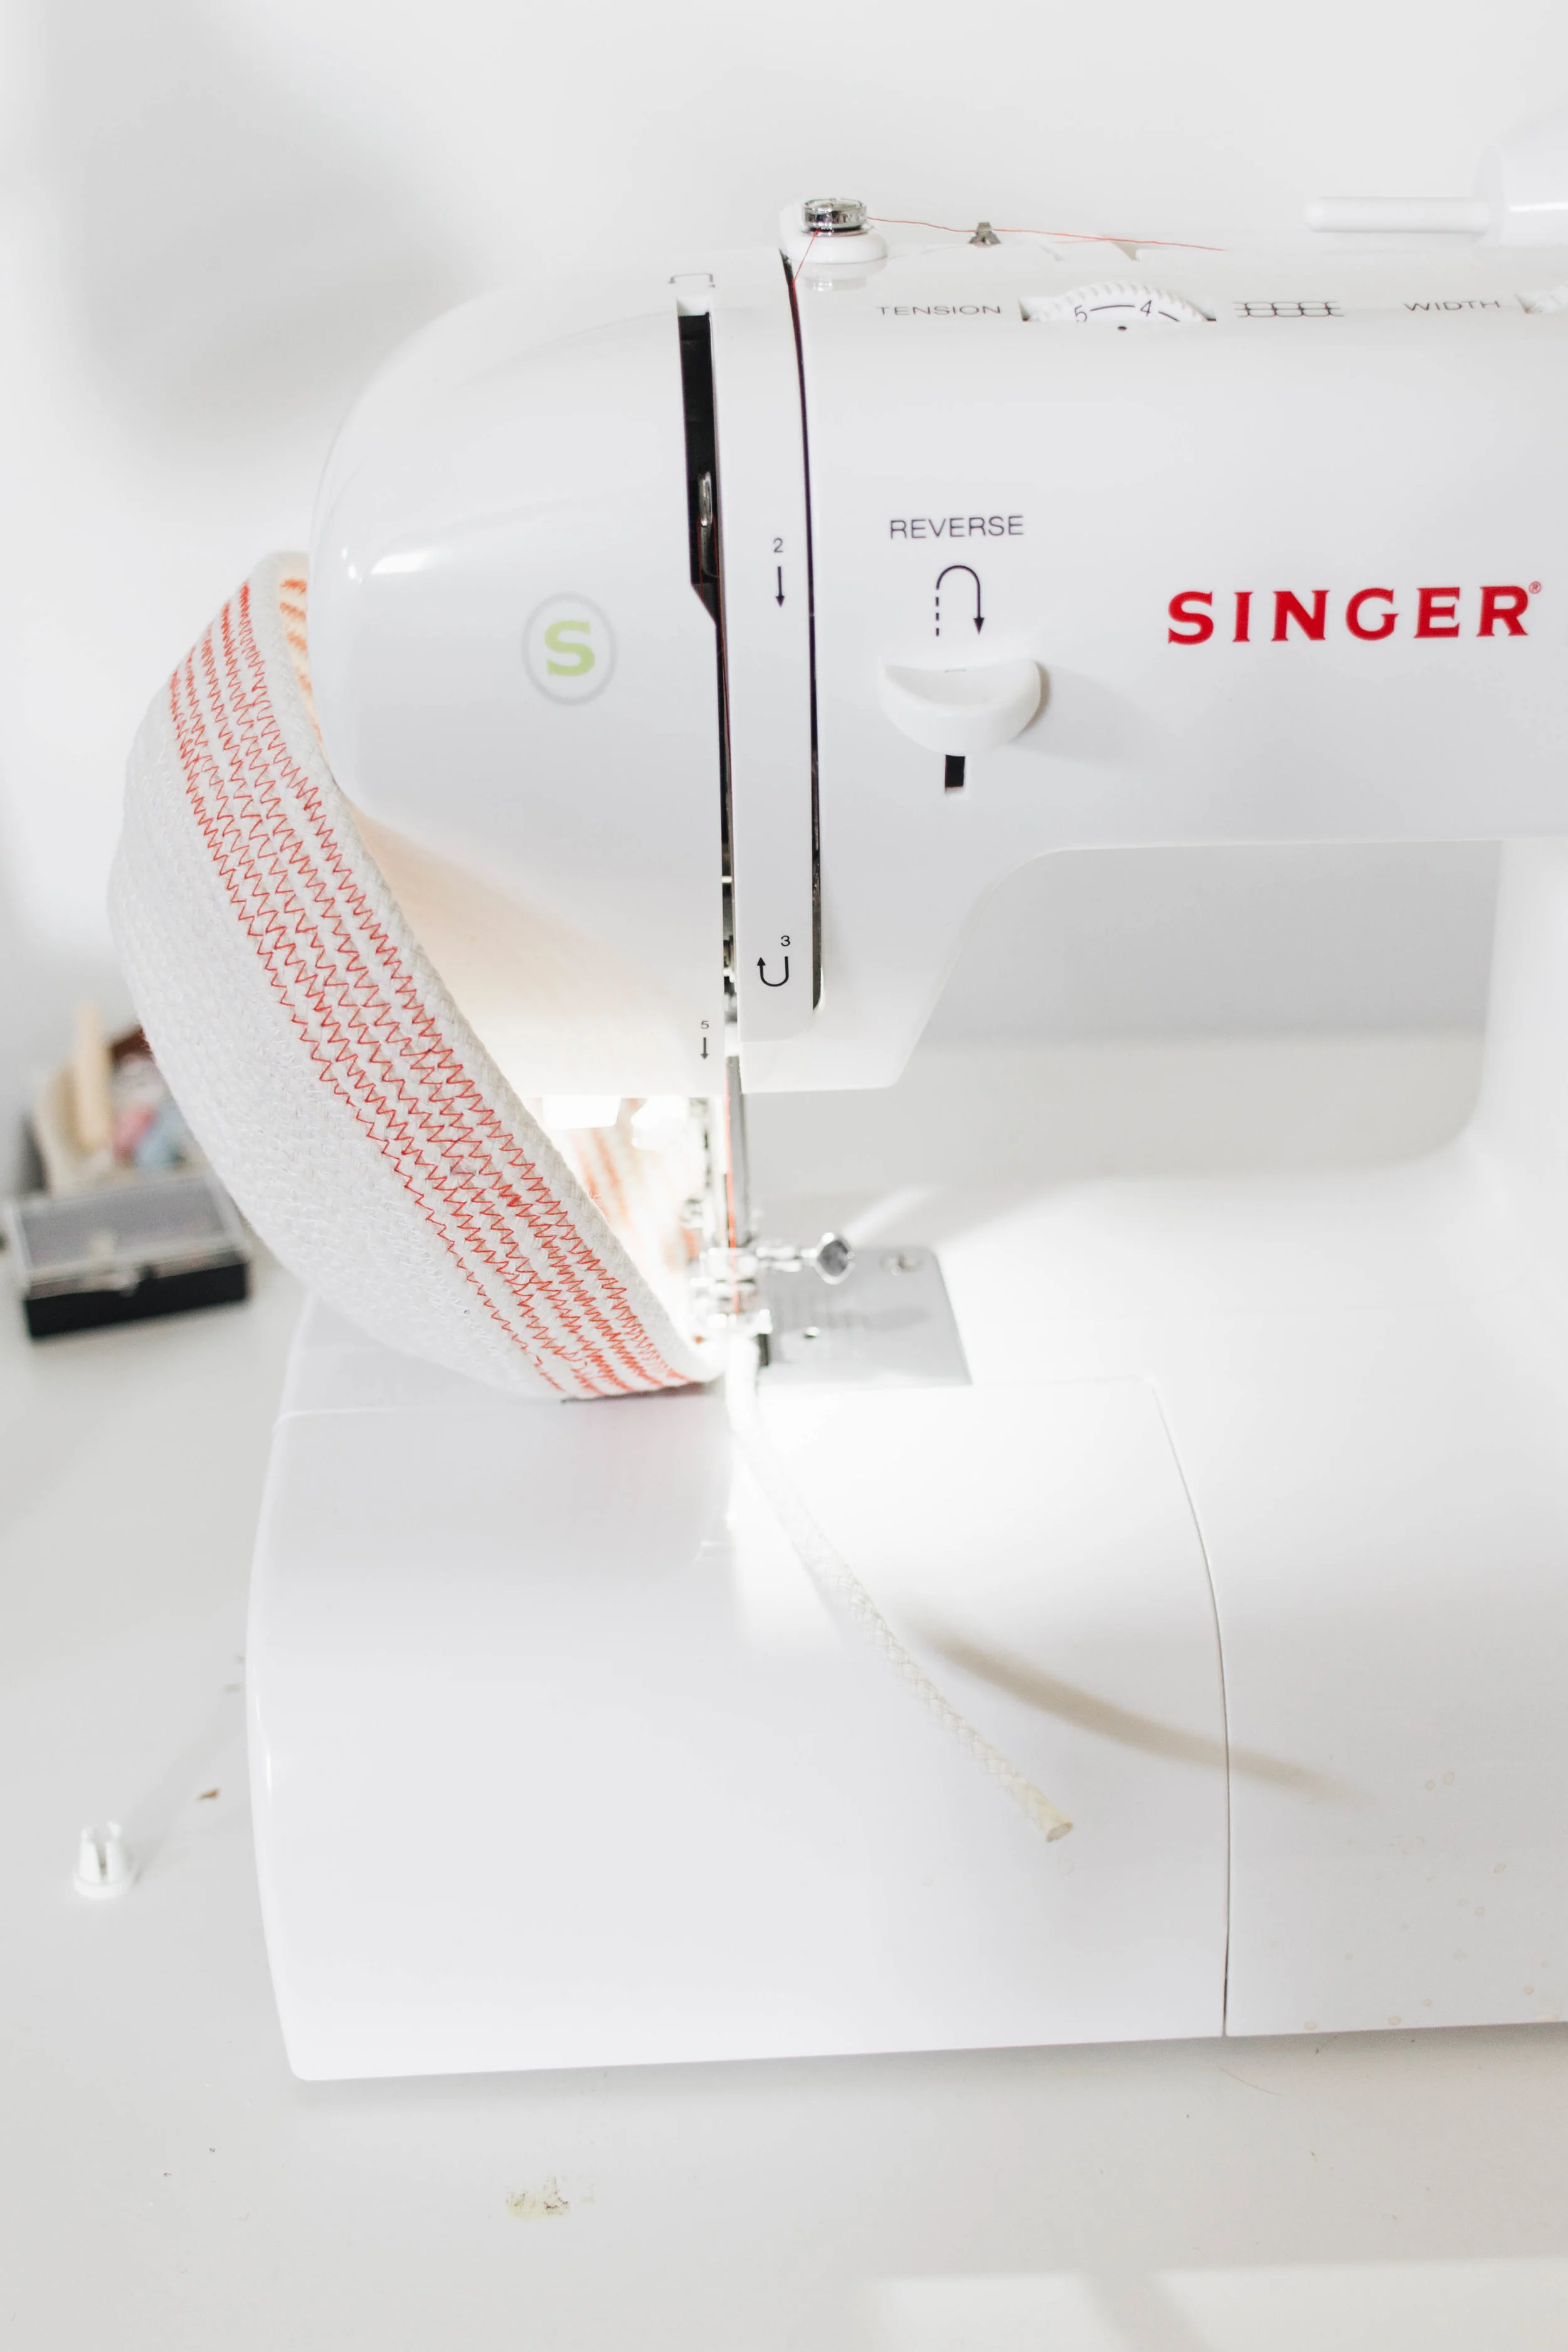
Step 4: Work up the sides
Once you're happy with the size of your circle, lift it up and keep it at an angle as you continue to sew. This will give it shape and a sturdy body. Continue going until your you either run out of rope or are happy with the height of it.

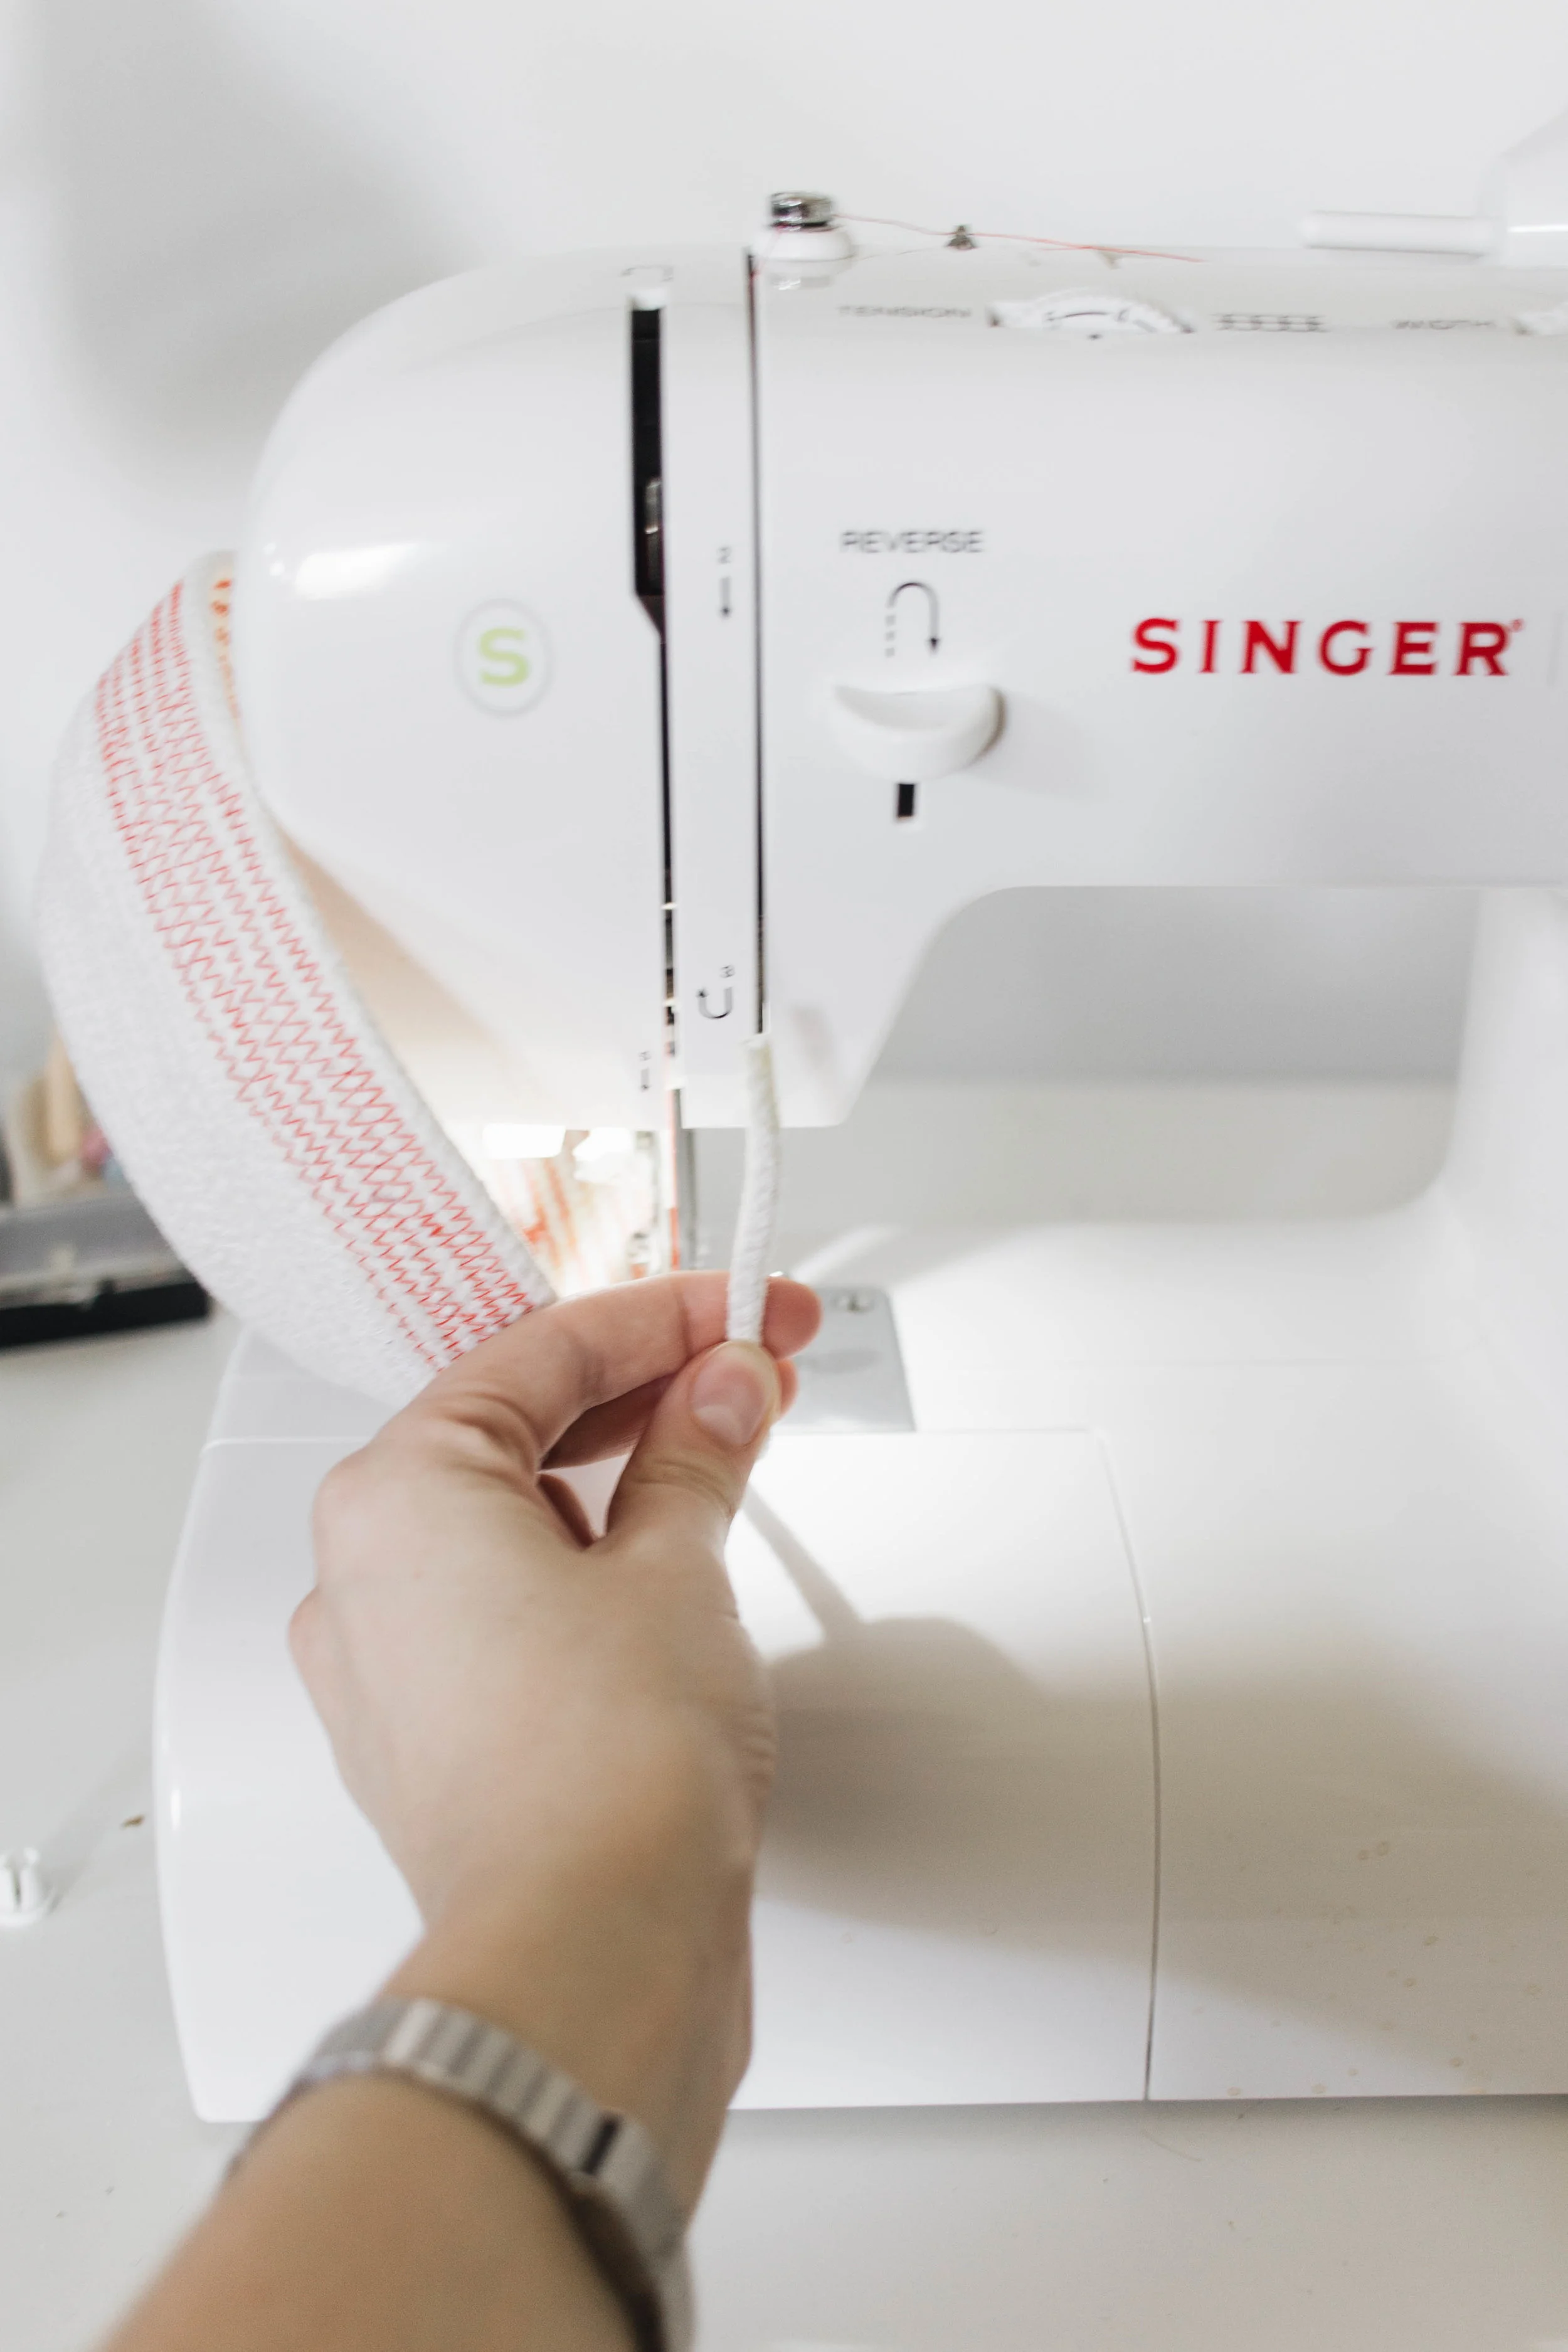
Step 5: Finish off
When you get to the end of your rope, tuck in under itself and sew it up. Go back and forth a few times to make sure both sides are securely stitched, then cut it free from the machine.

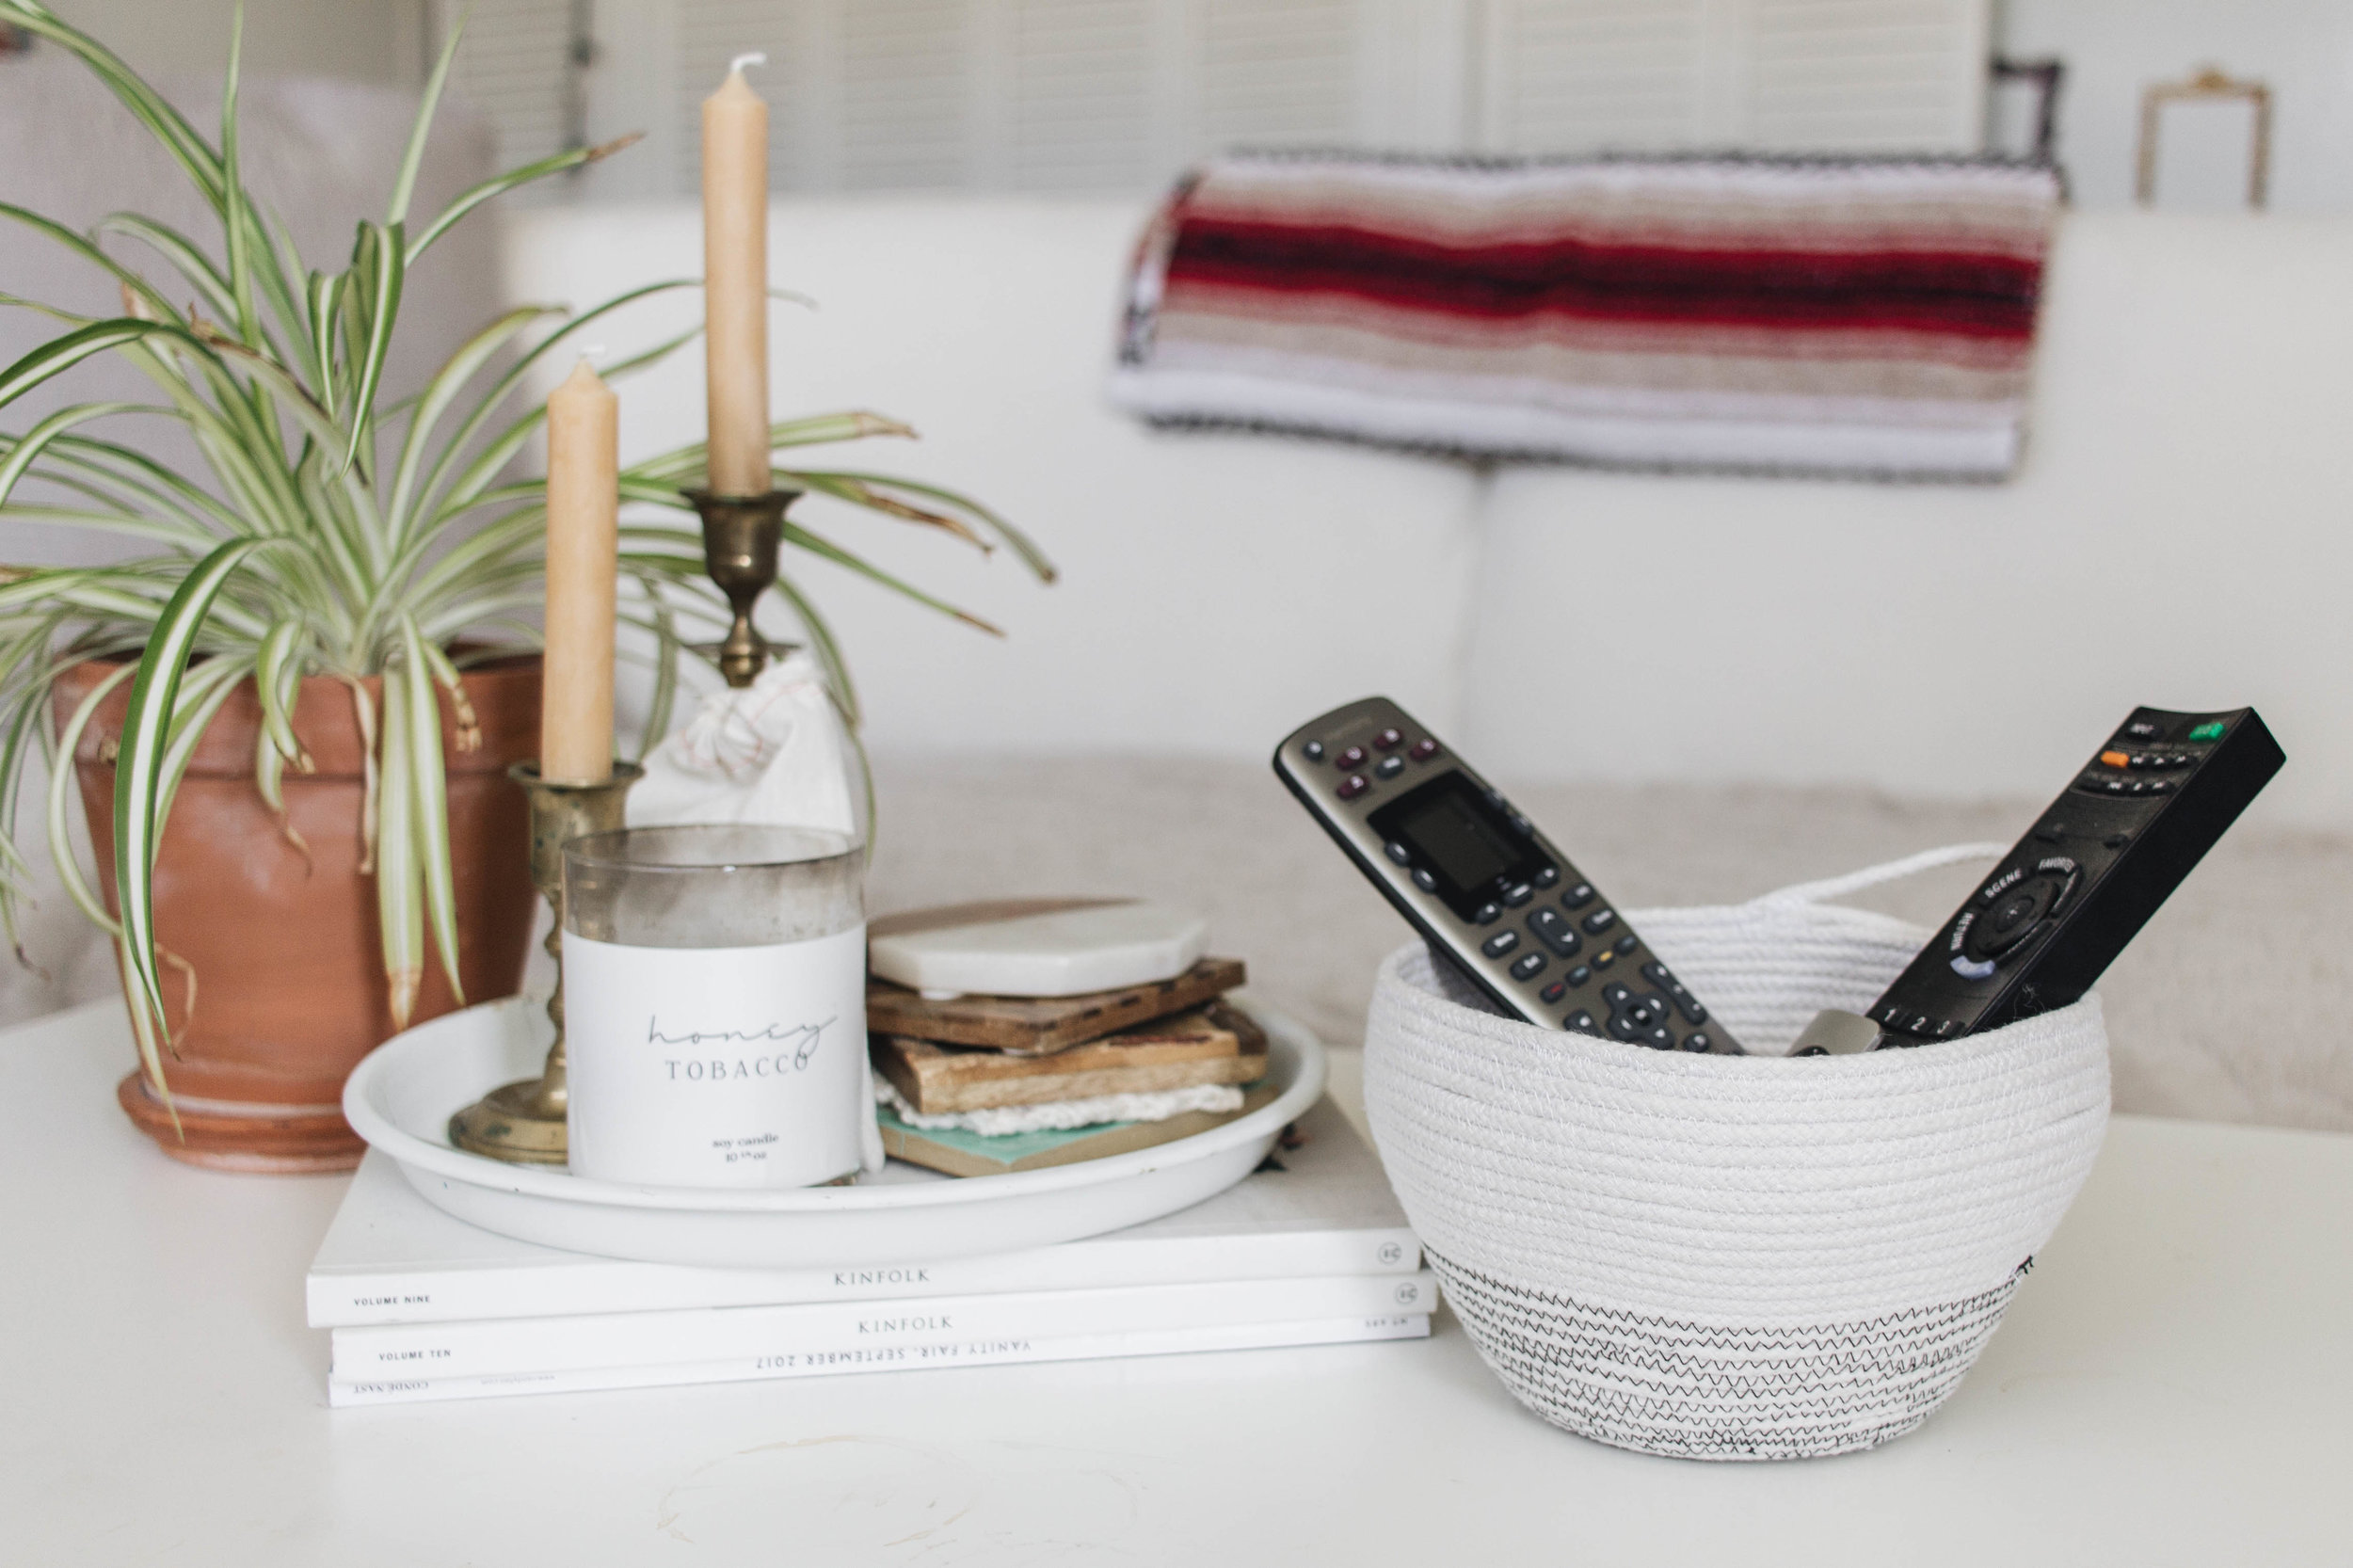
Now all that's left to do is sit back and admire your beautiful handiwork!